01 What we made and how we worked
3DGS keeps the look of a place, but you cannot relight it or move individual rocks and trees.
So we used the 3DGS as a reference and rebuilt the same forest as a 3D scene split into separate objects.
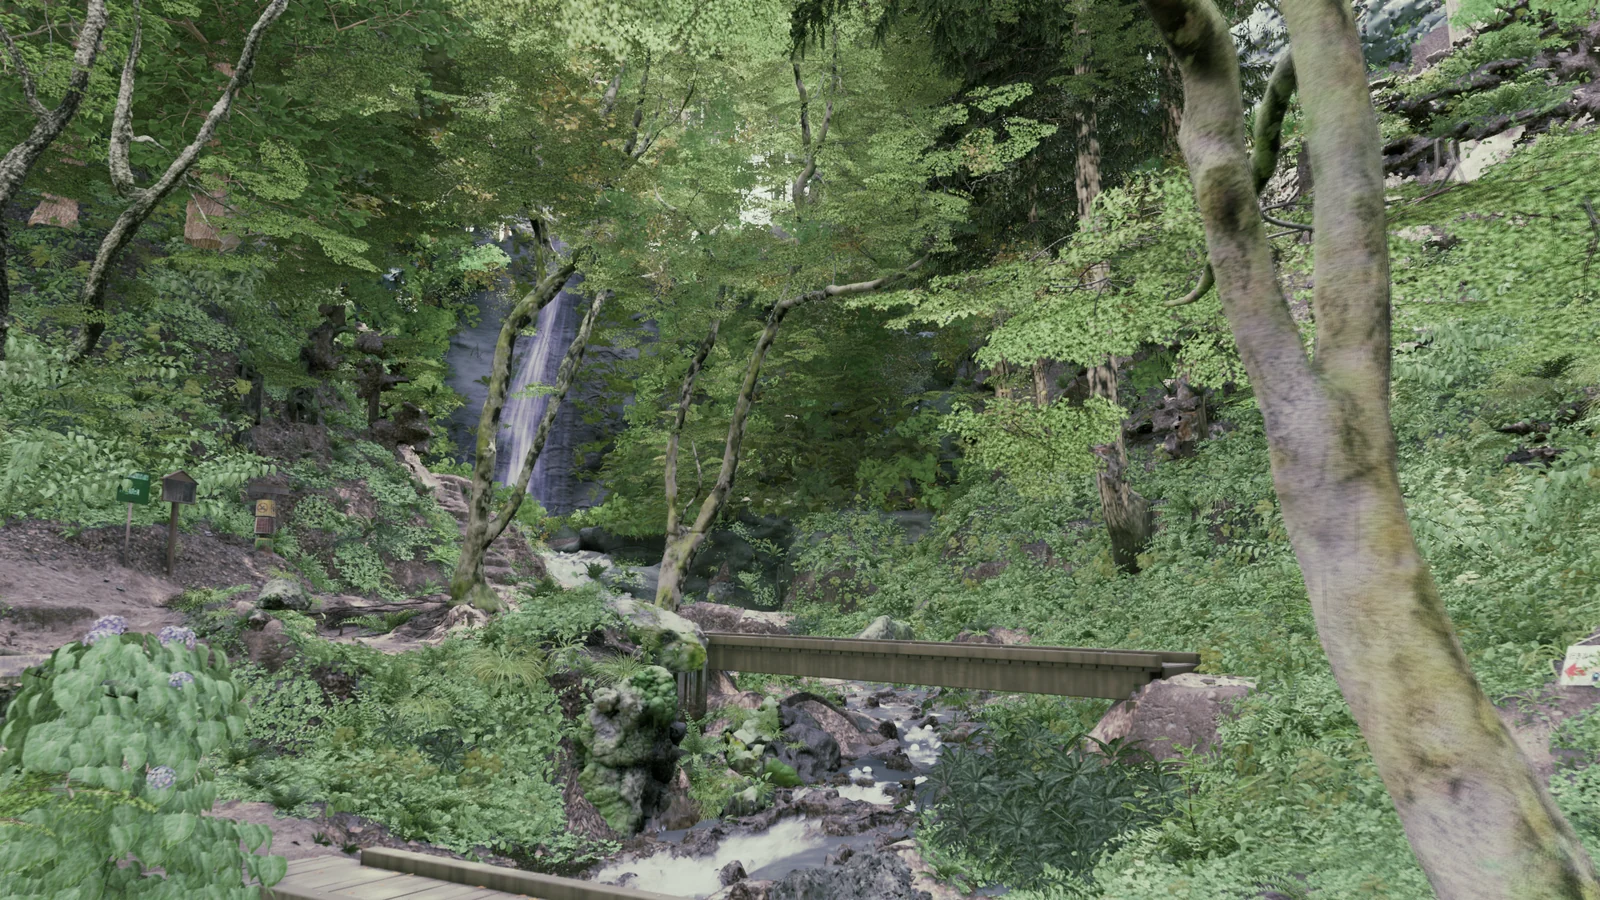
Claude and Codex did the production, writing the scripts that drive Blender and UE5. Separate workers handle rocks, trees, ground and so on, and a different worker from the one who built each part scores it from comparison images. I look at the images and direct what to fix next and in what order. This way of working, and what went wrong along the way, is recorded in our own production guide for use on later scenes.
02 Reading shapes and positions from the scan
First we walk the site with the K2 and turn the scan into 3DGS. It goes into UE5 through LCC4Unreal and stays in the scene as the reference for comparison.
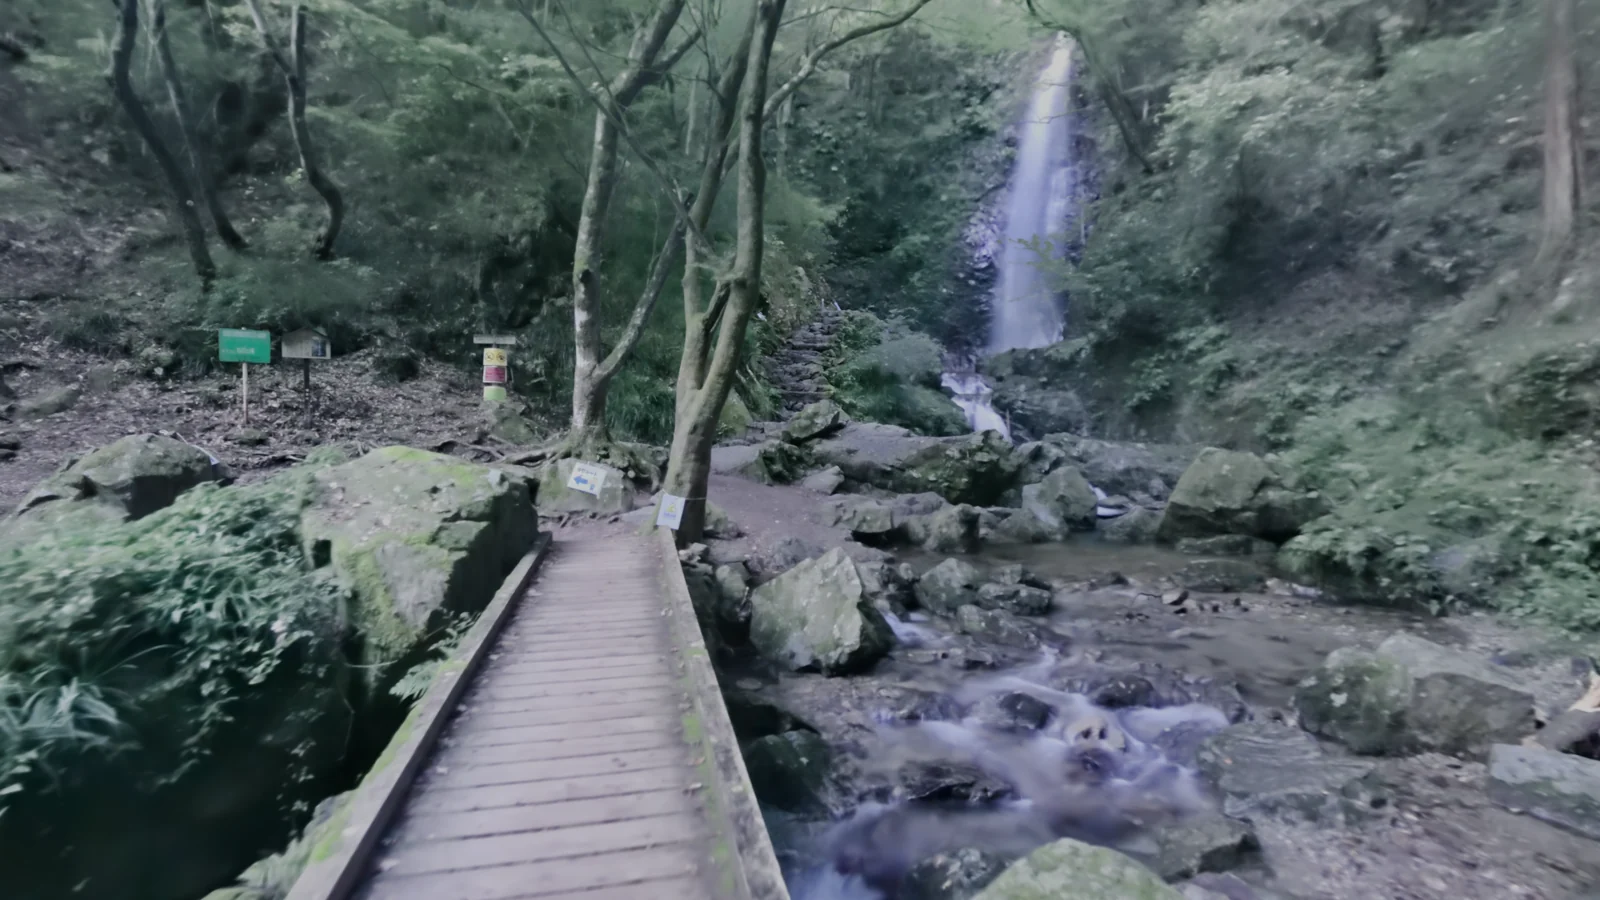
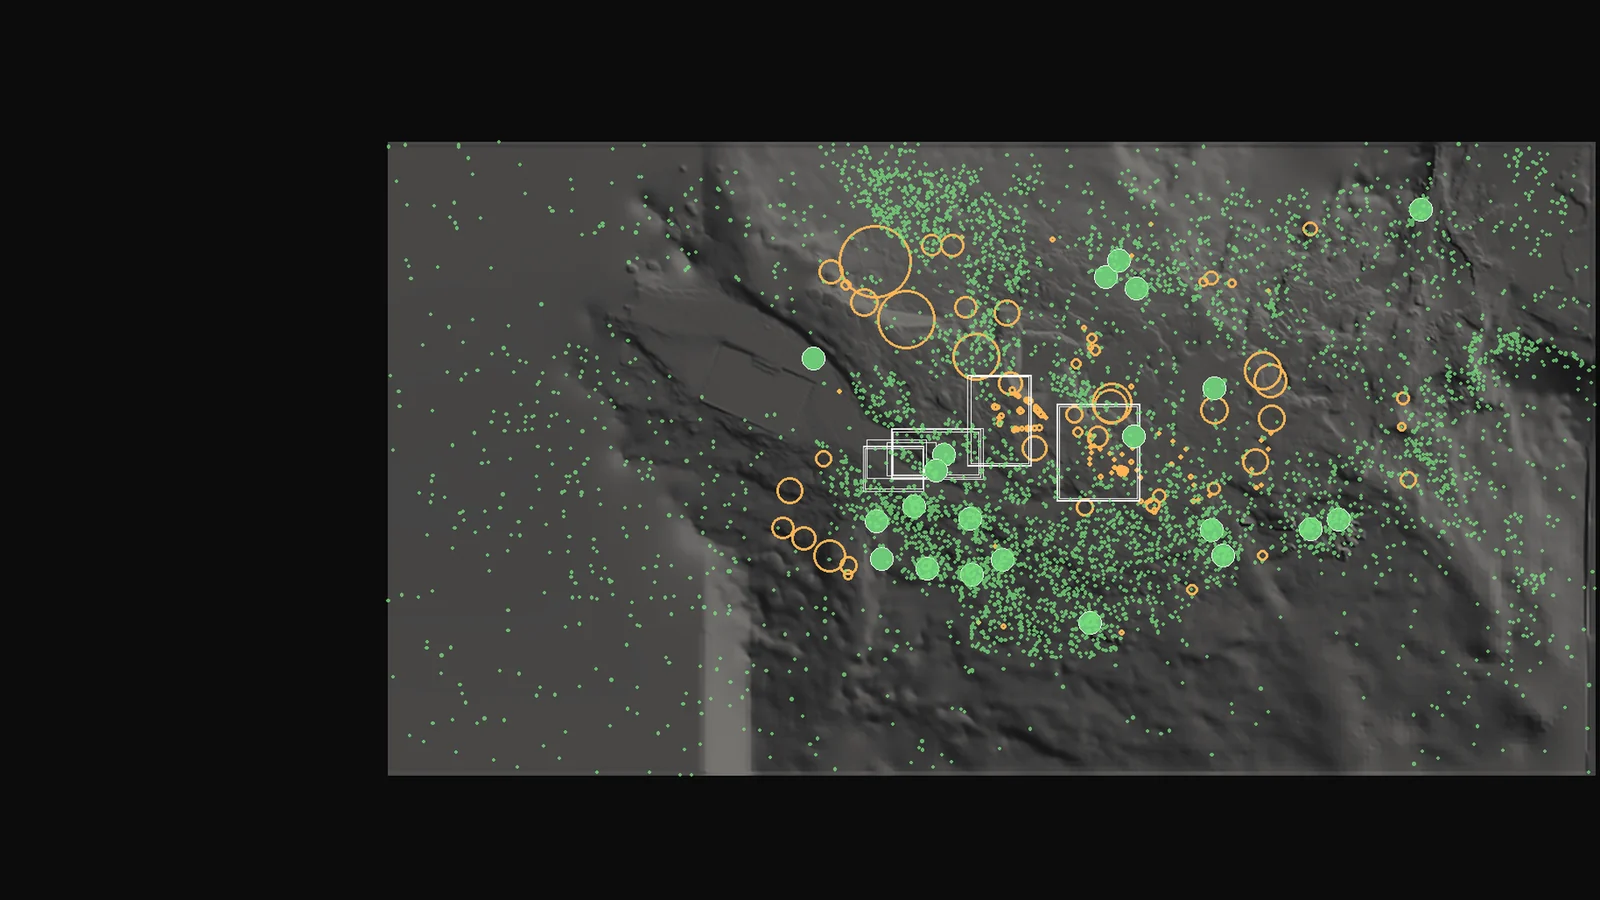
Next we extract shape and position data from the scan: terrain height, the position and size of 161 rocks, the positions of 22 trees, and the placement of about 105,000 plants.
03 Stacking the scene from the terrain up
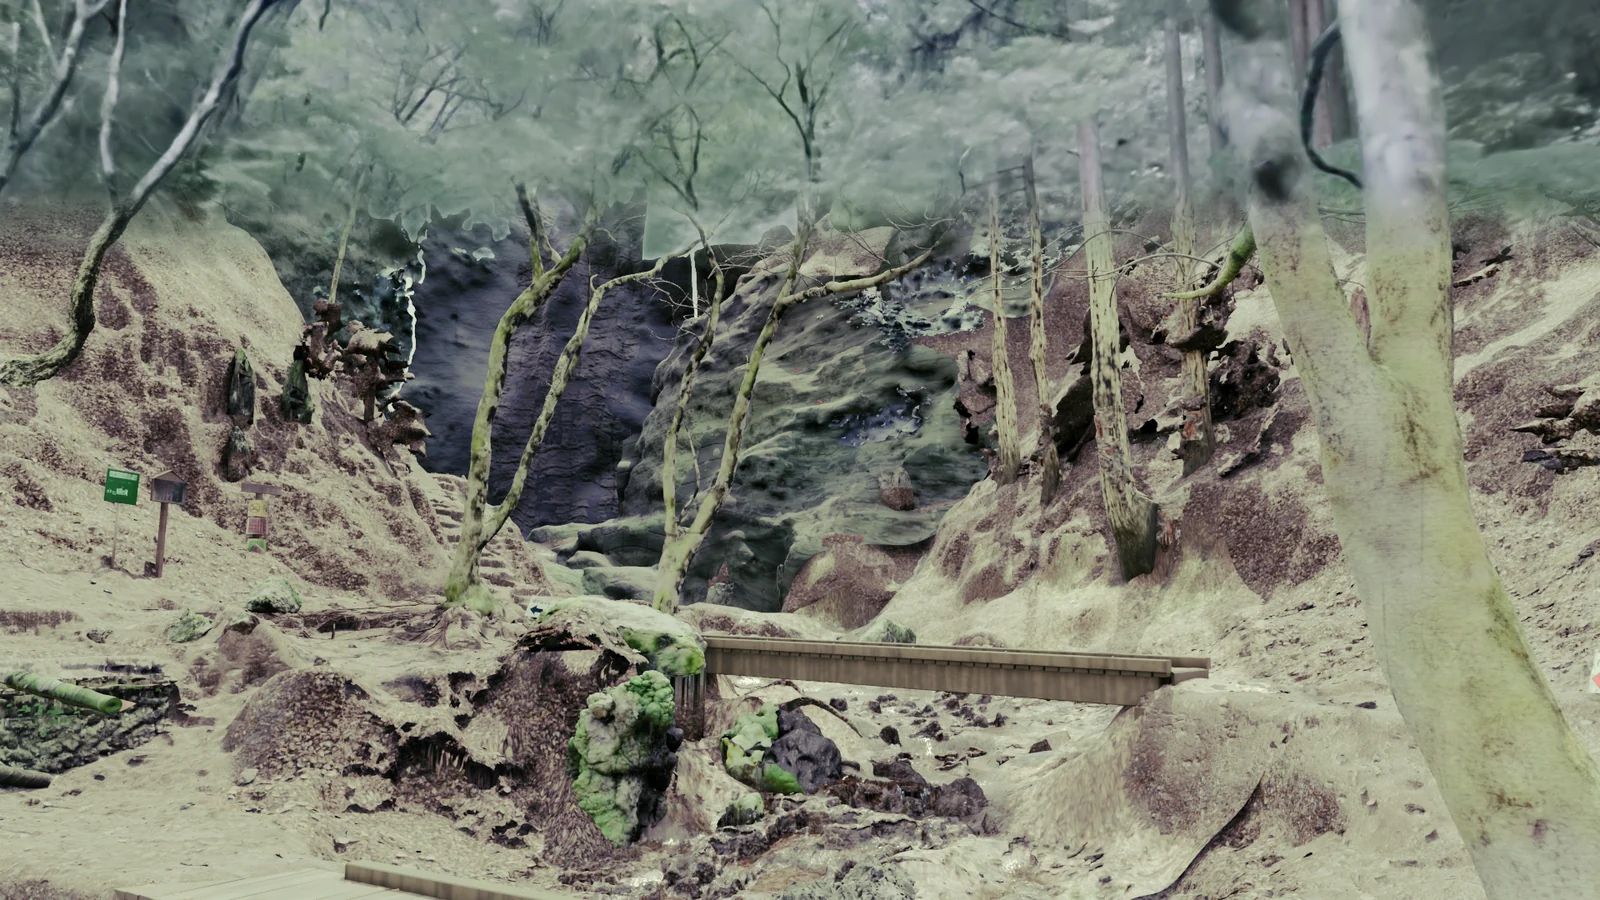
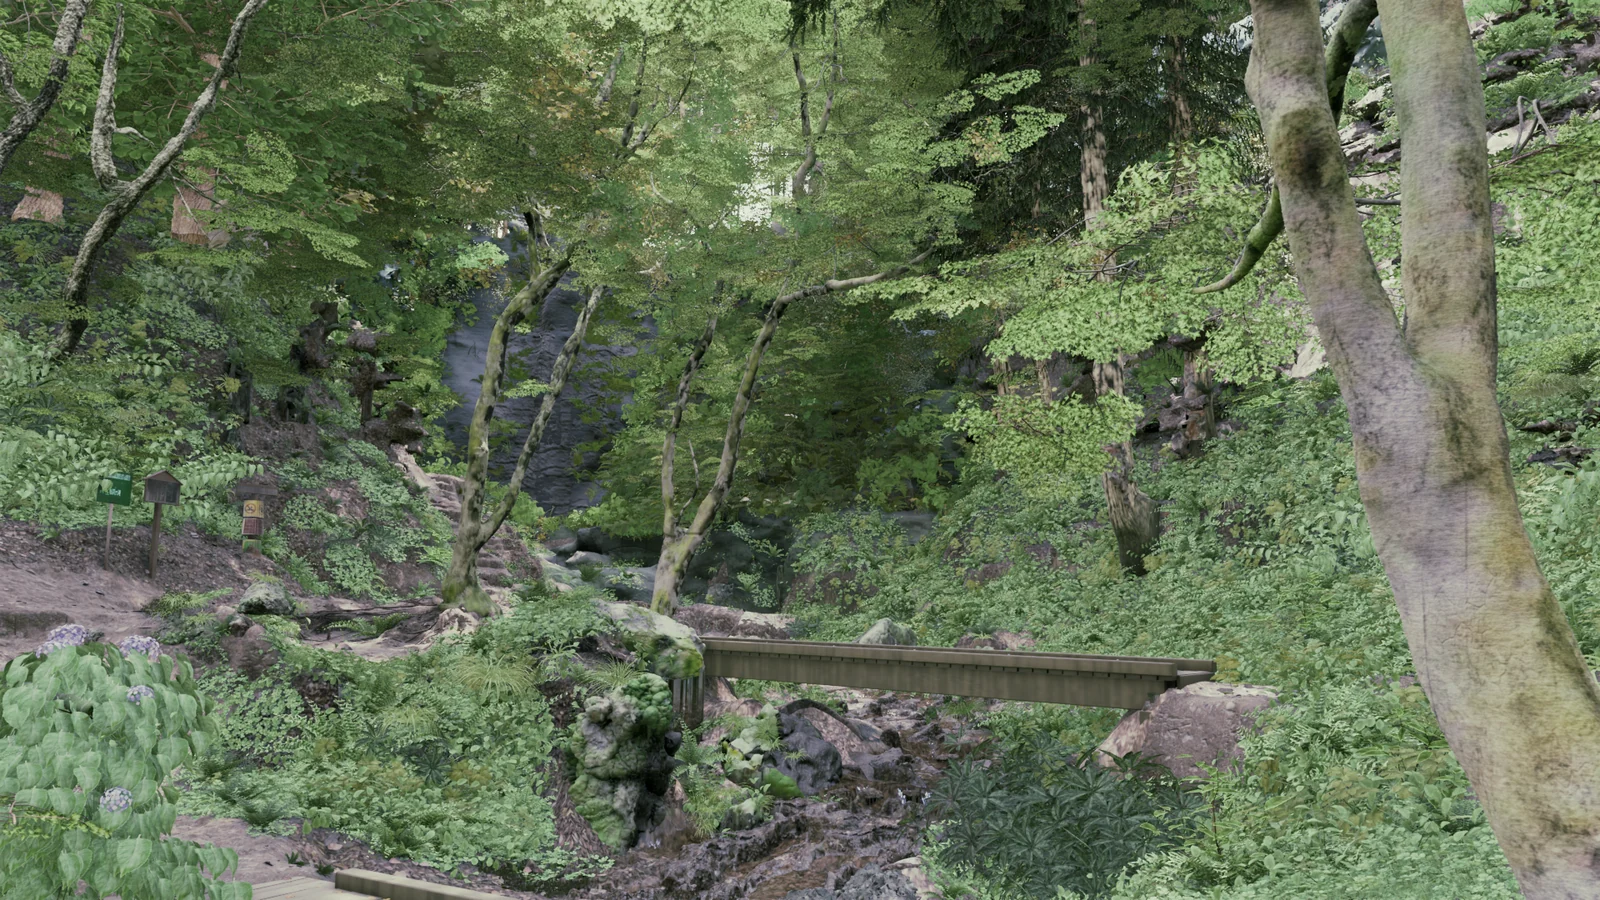
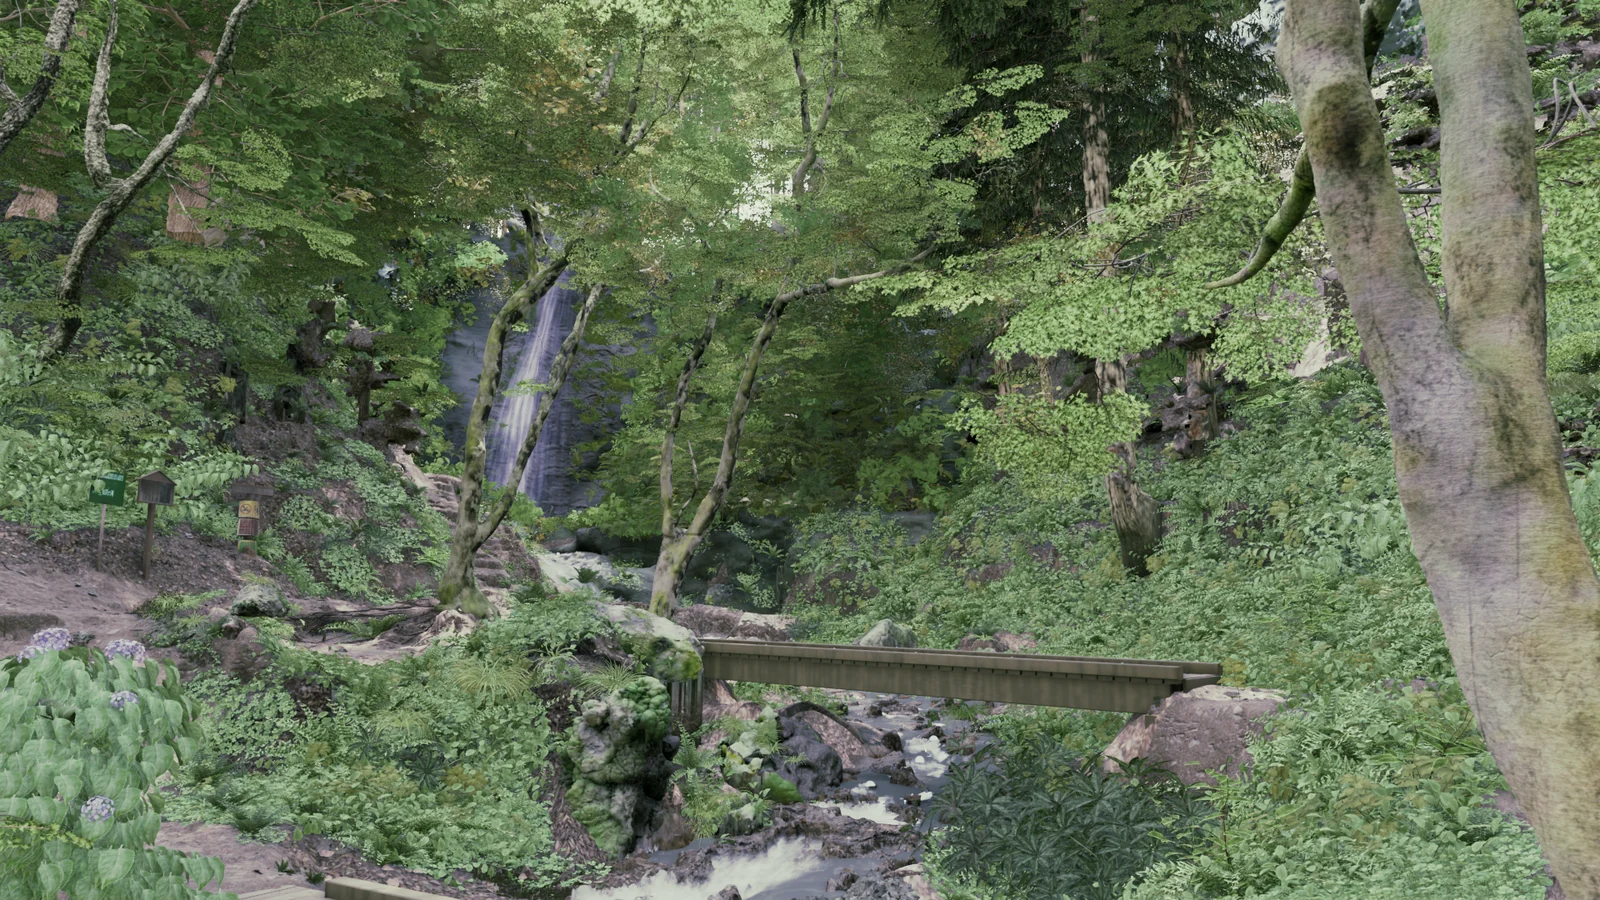
The scene is generated layer by layer from that data. Switching from the 3DGS with the same camera shows what each layer contributes.
Terrain
A single hole-free terrain is made from the heights of the scanned ground. Areas with no data, such as under rocks and in gaps, are filled from the surrounding heights.
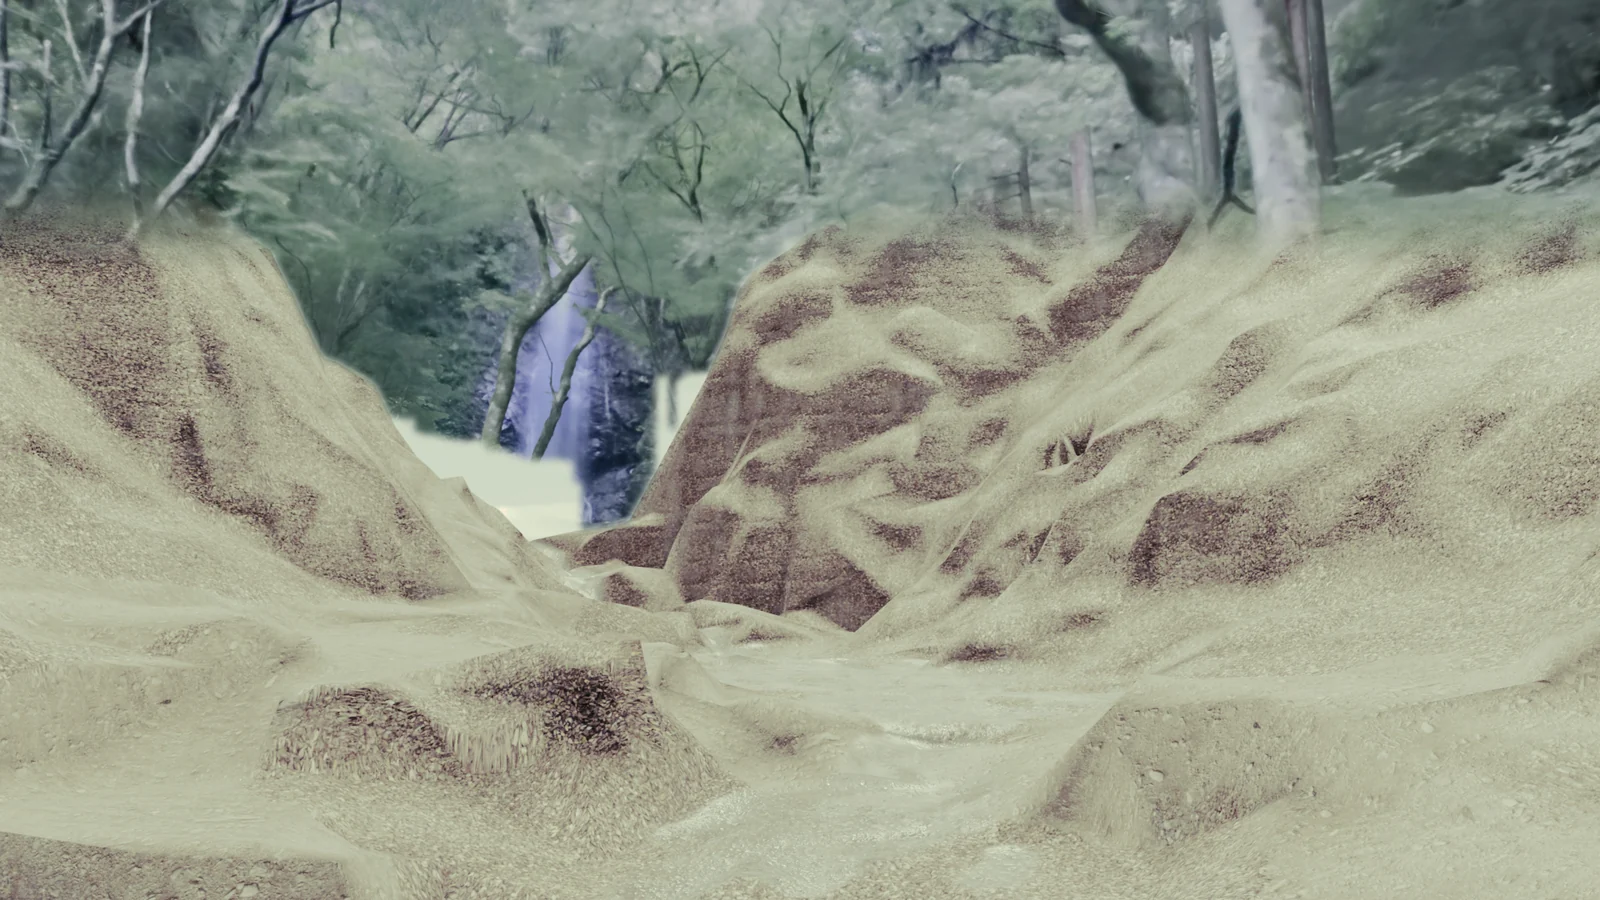
Ground and distance
The ground surface is created, and fallen leaves and twigs are scattered on it. The far slope uses scanned surfaces.
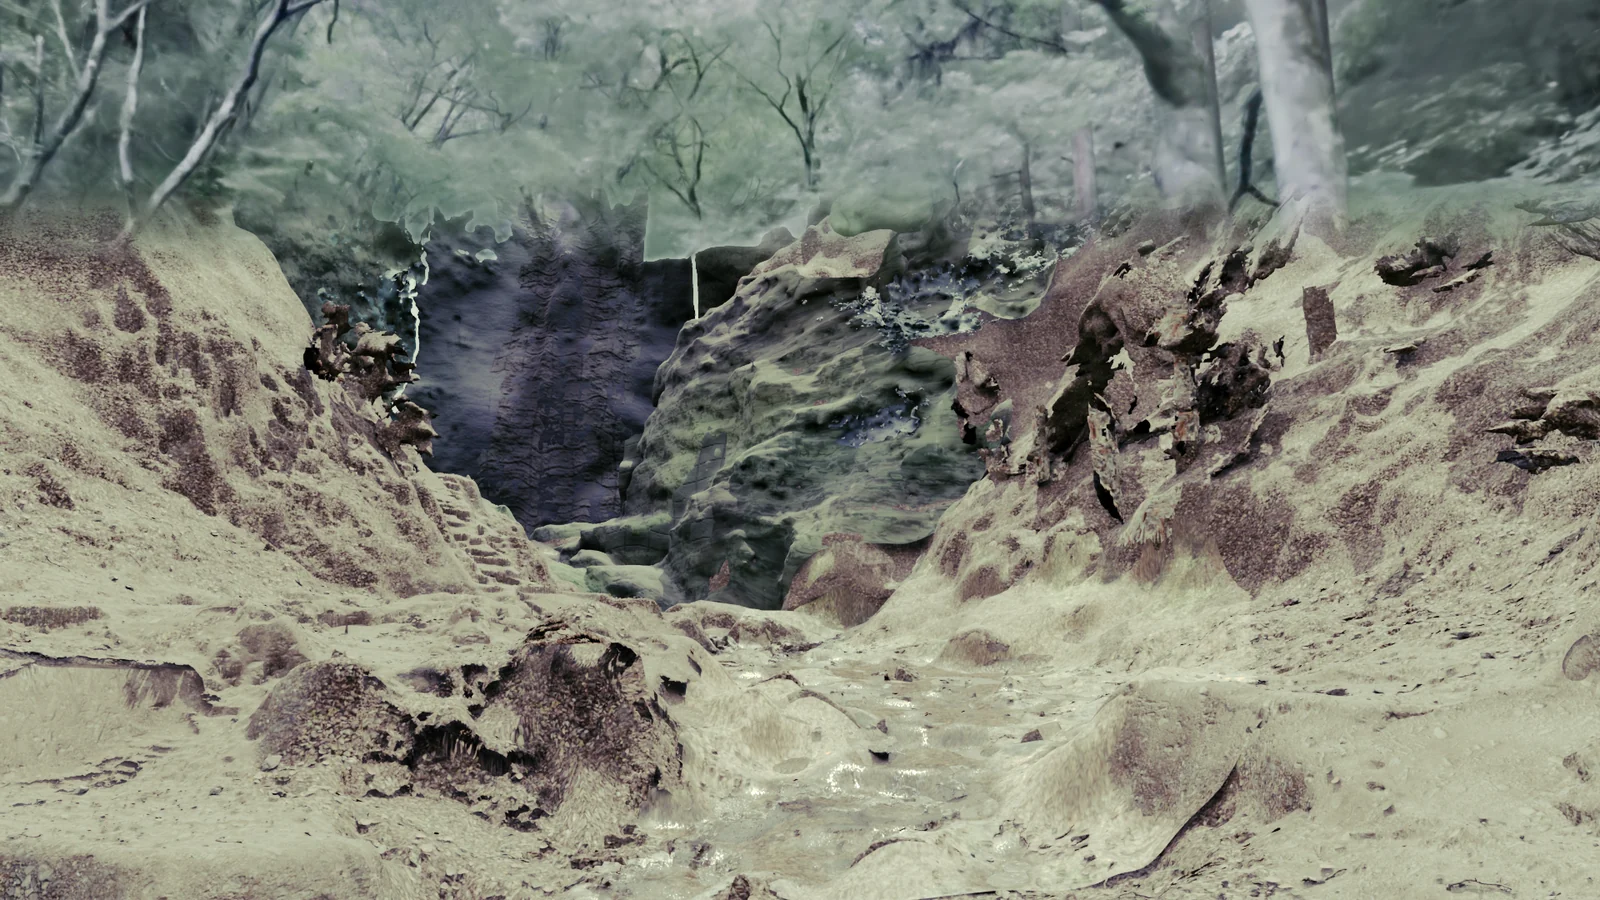
Rocks and roots
Rocks are built from the positions and shapes in the scan.
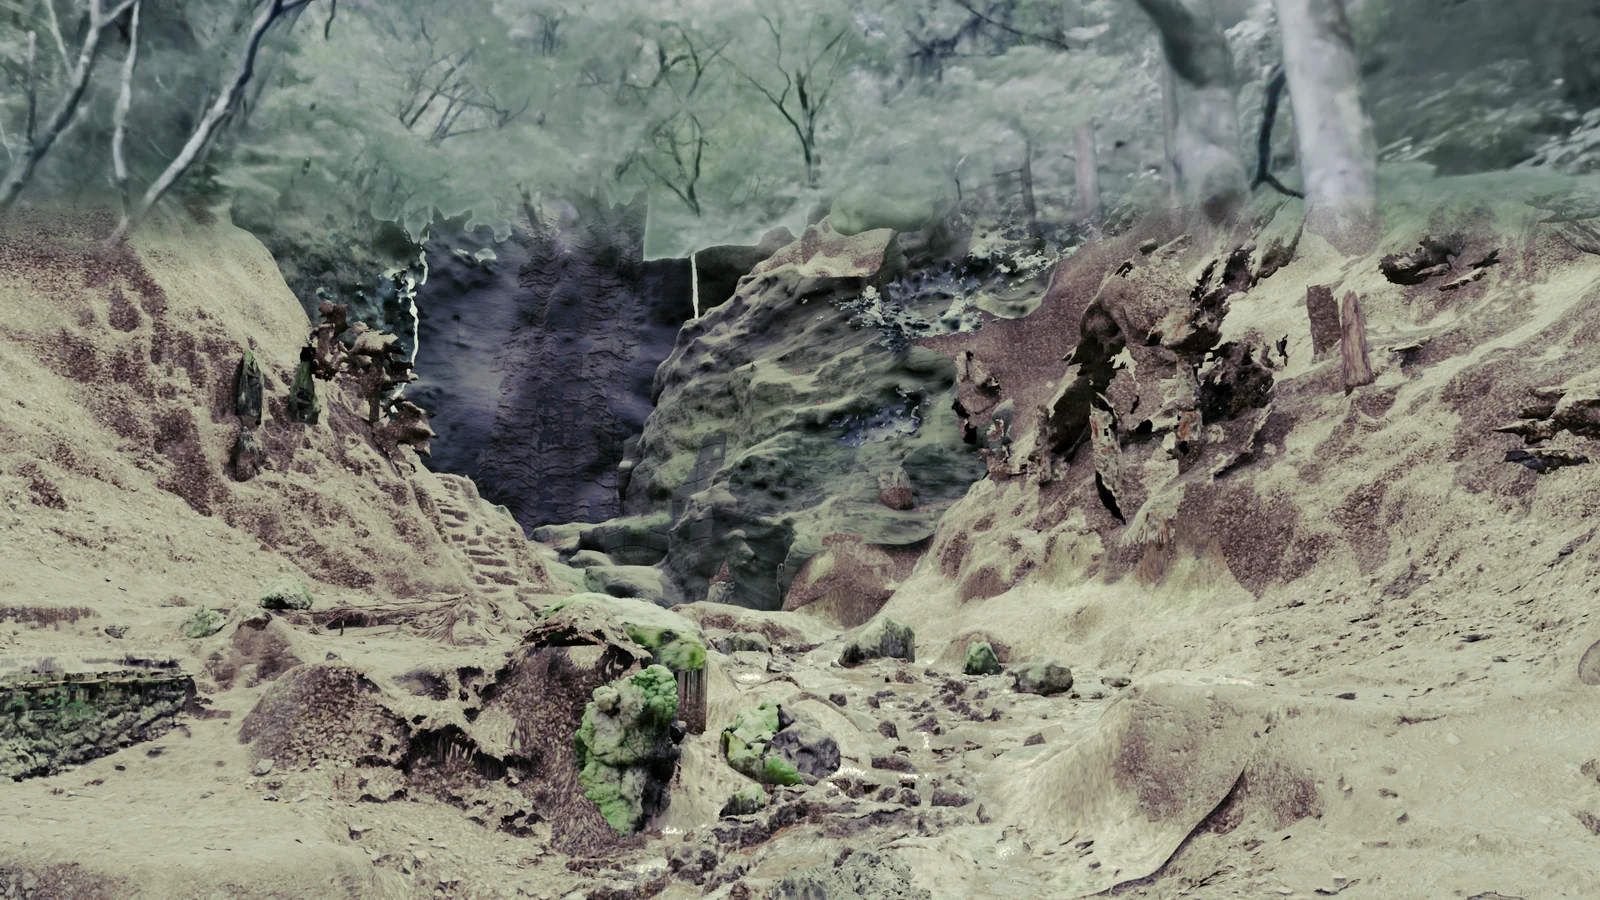
Boardwalk
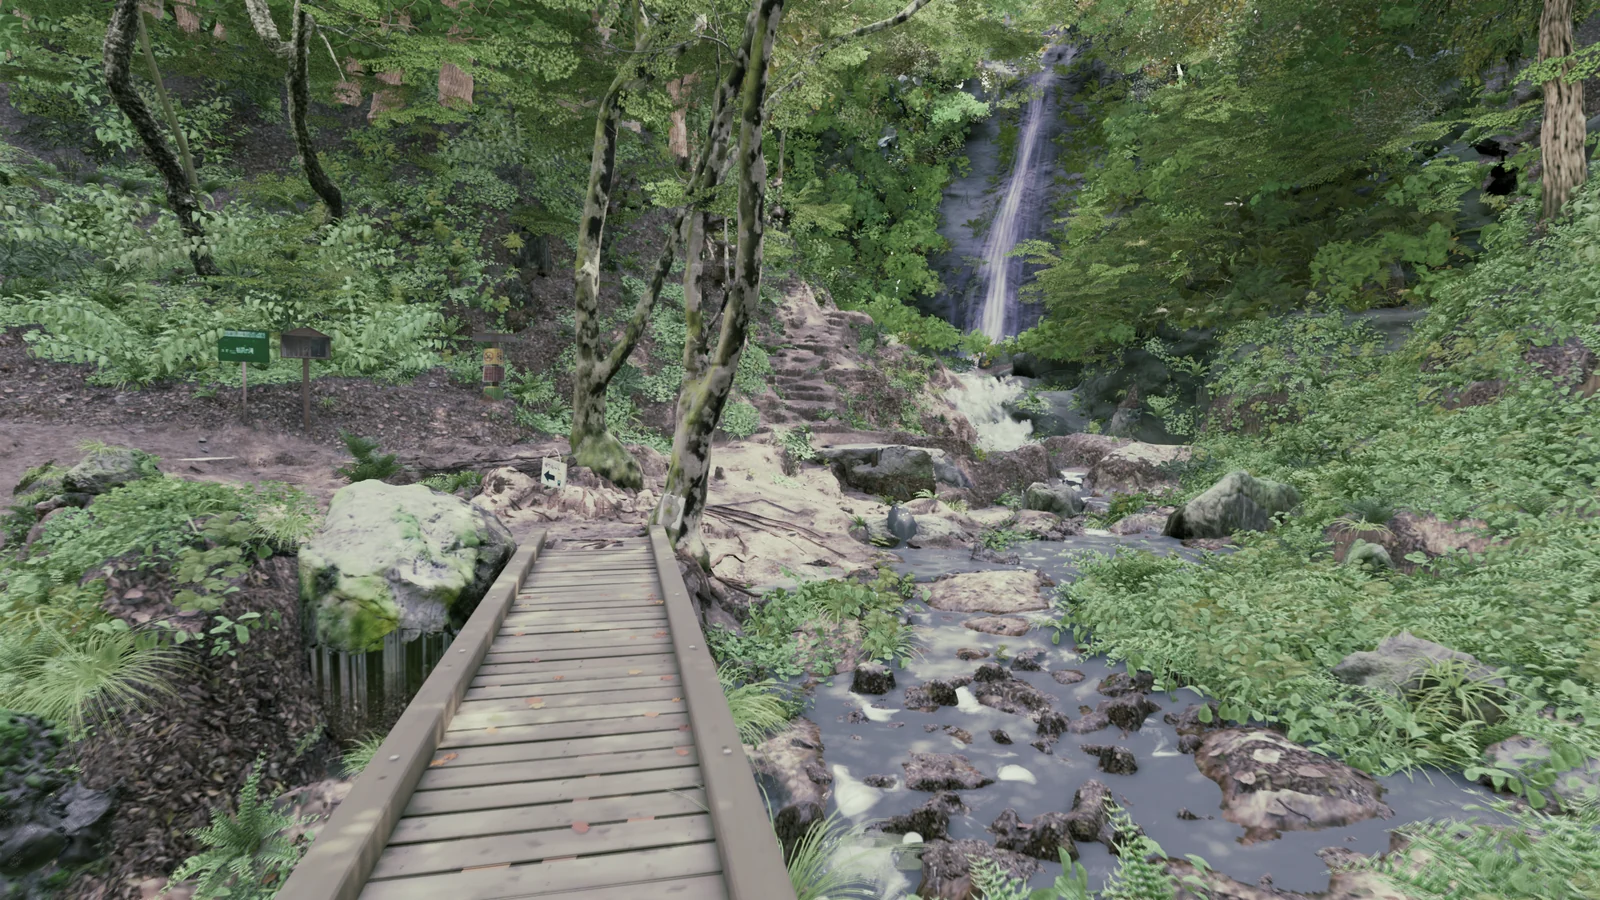
The boardwalk is made of individual boards, placed to match board positions measured from the photos.
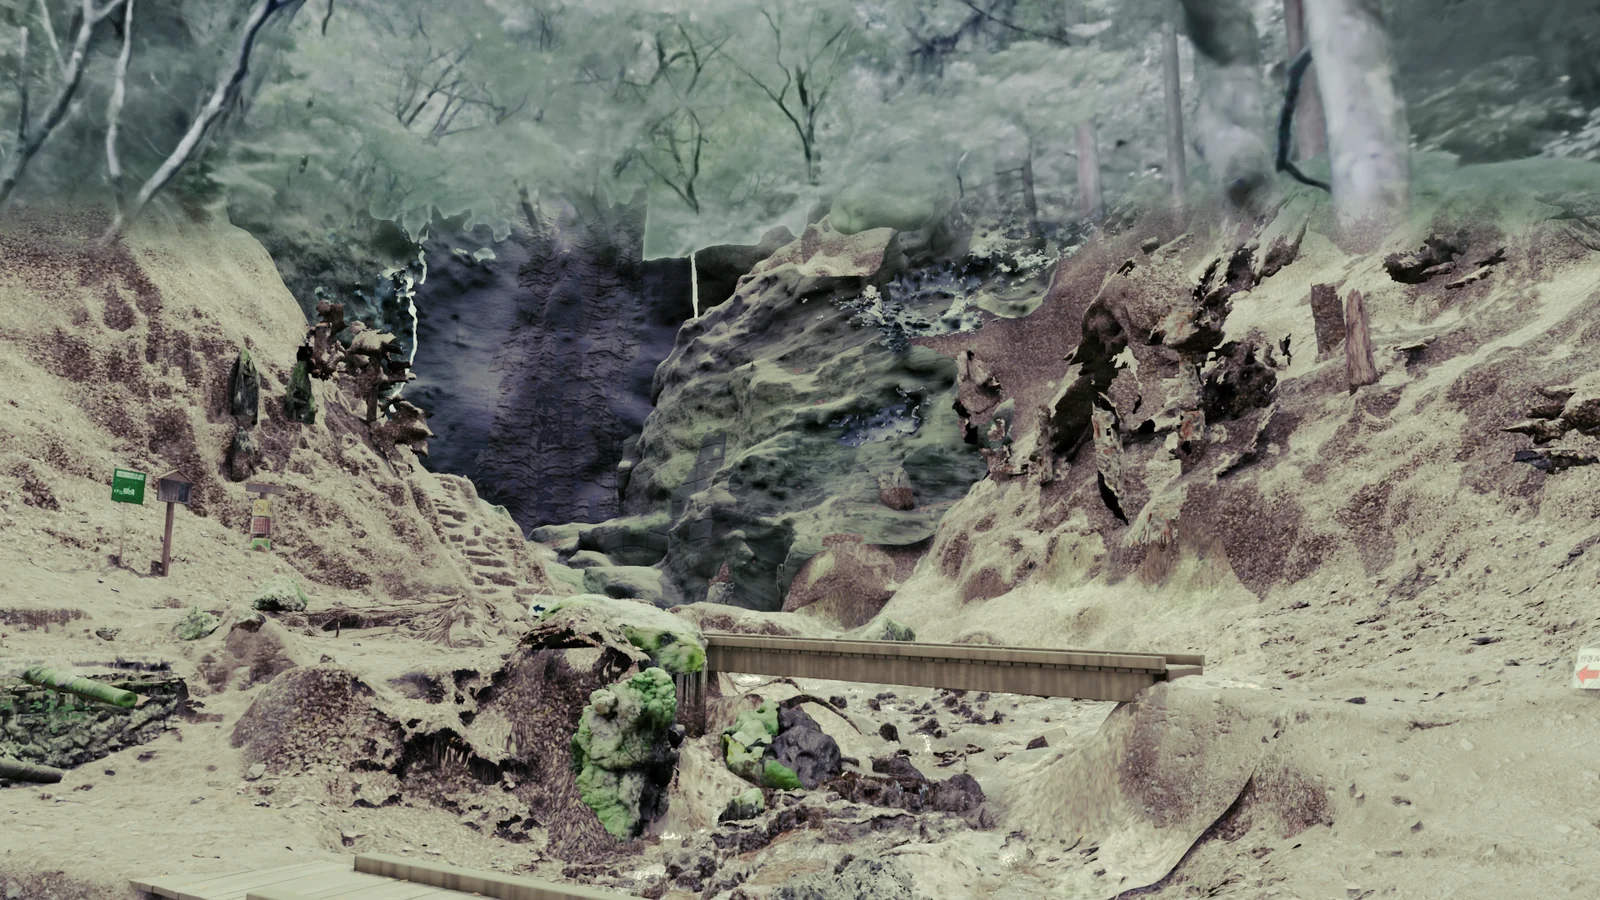
Trees
Tree trunks are fitted to the positions and thicknesses in the scan.
Plants and water
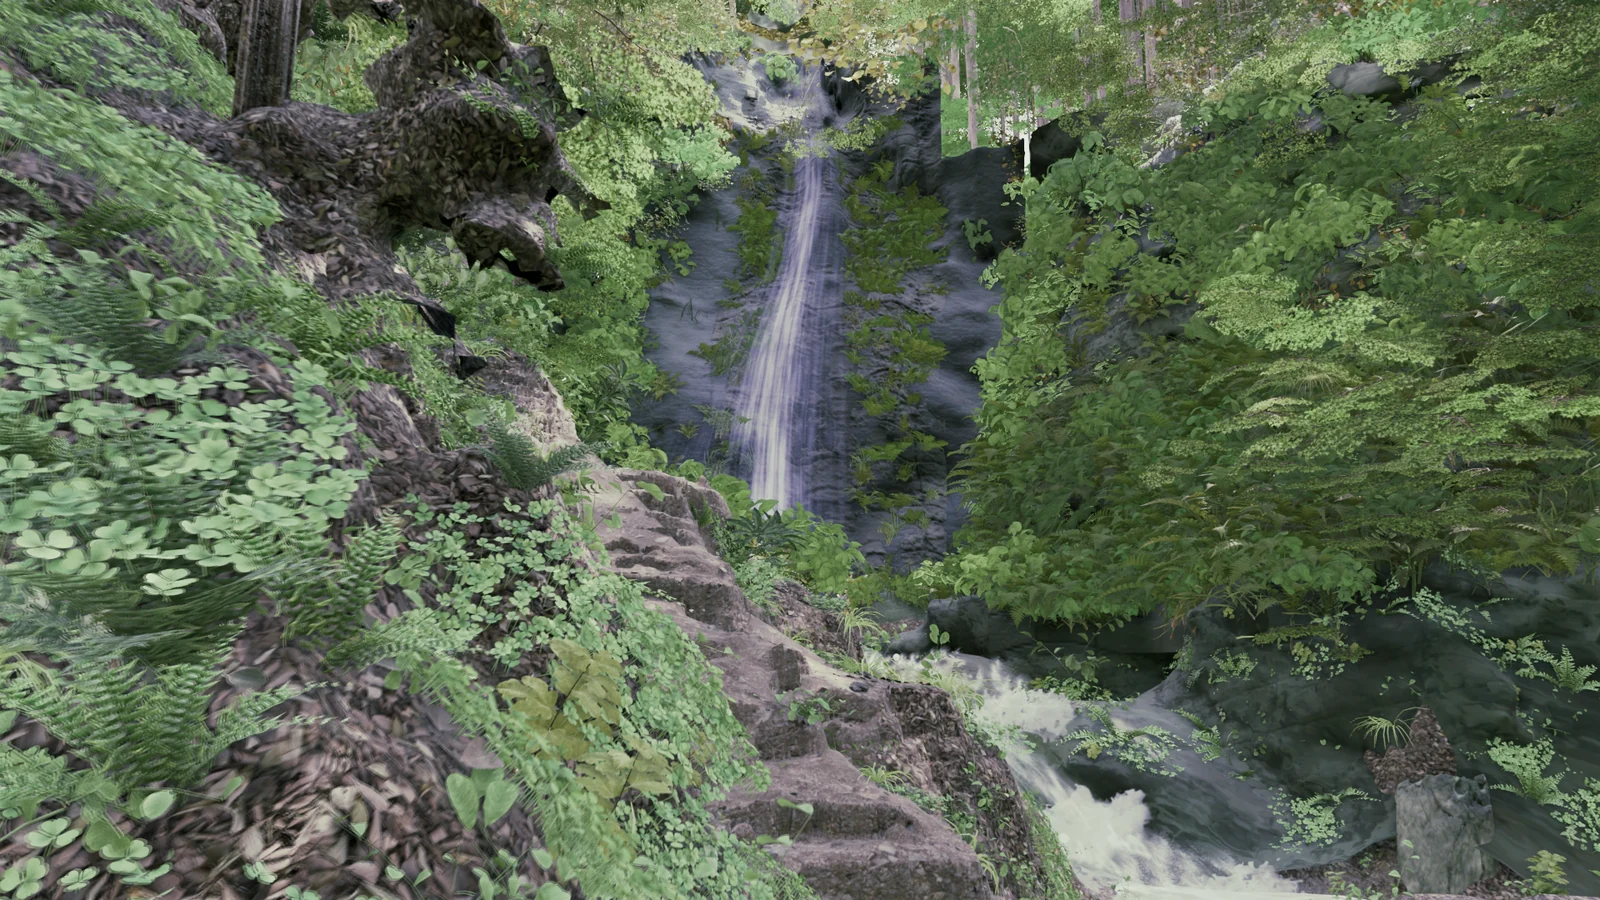
Finally, plants go into the extracted positions, and water is added to the stream and the waterfall.
04 Refining rocks, trees, boards and grass
Once everything is in place, each part is refined.
Rocks
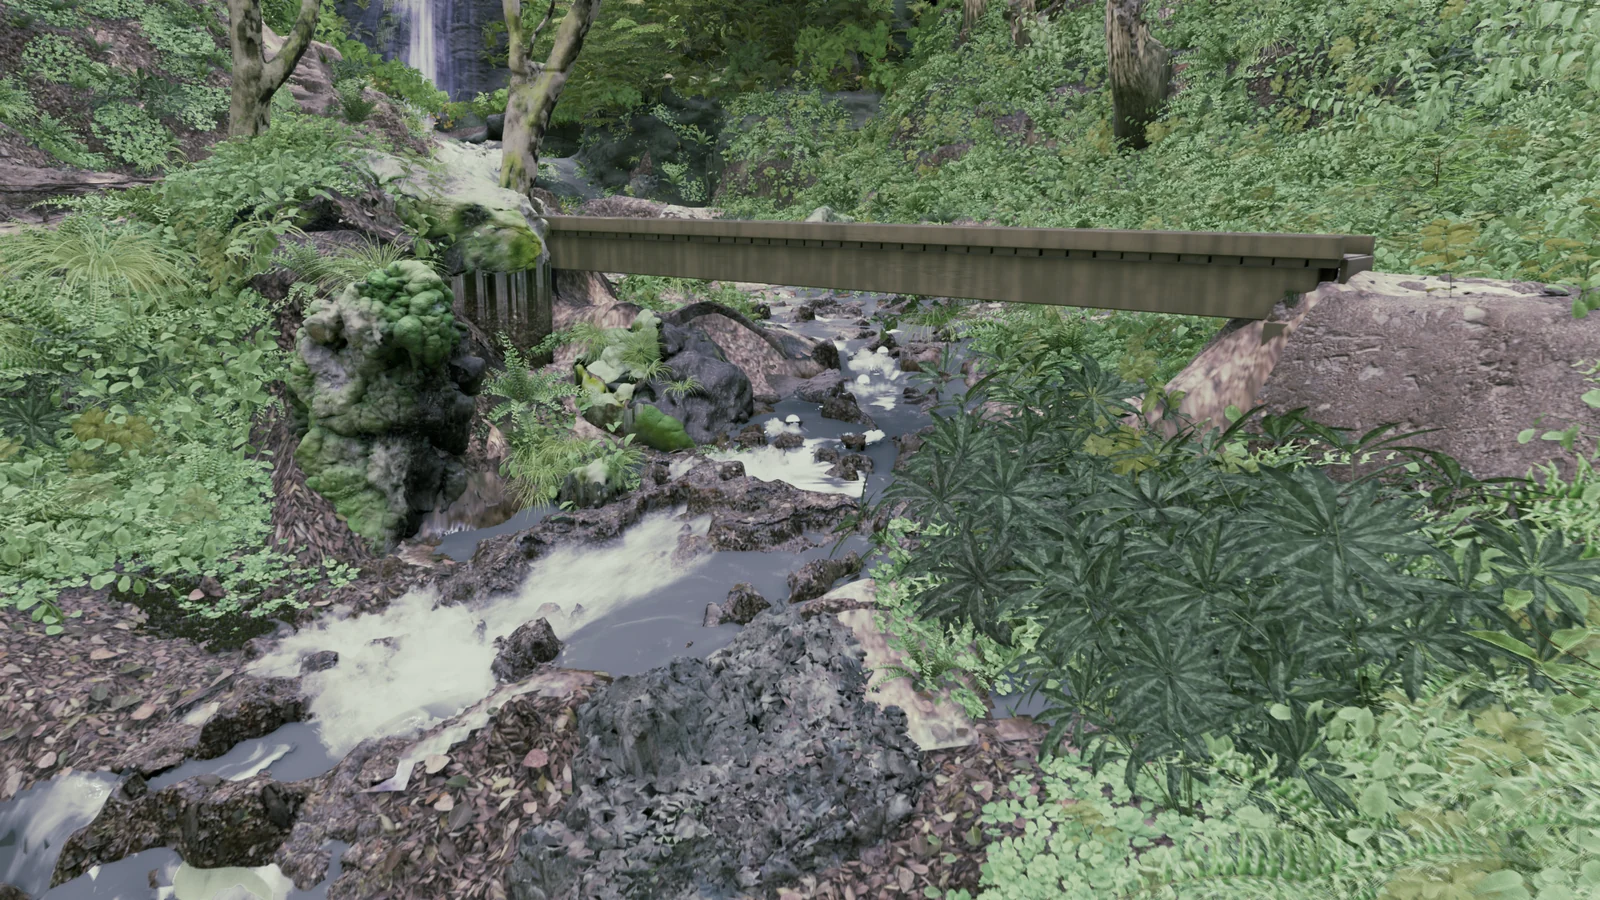
Of the 161 rocks built from the scan, 138 had open undersides. Sky would show through the gaps, so the undersides are closed and extended below the ground. The moss and rock surface are baked in Blender in layers based on photo materials.
Trunks and foliage
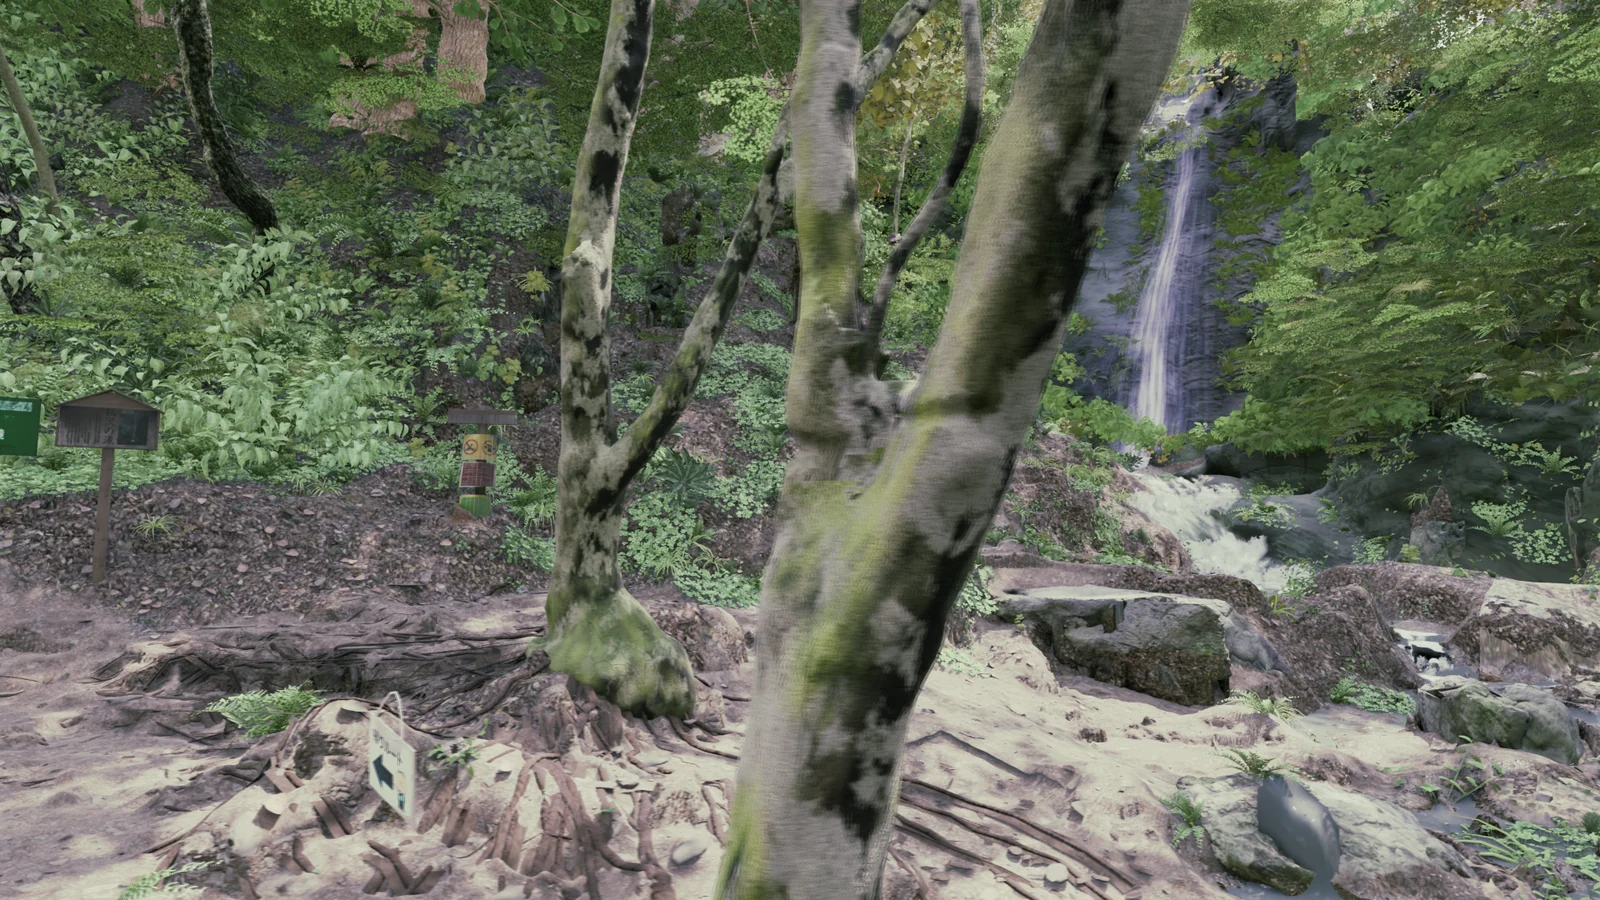
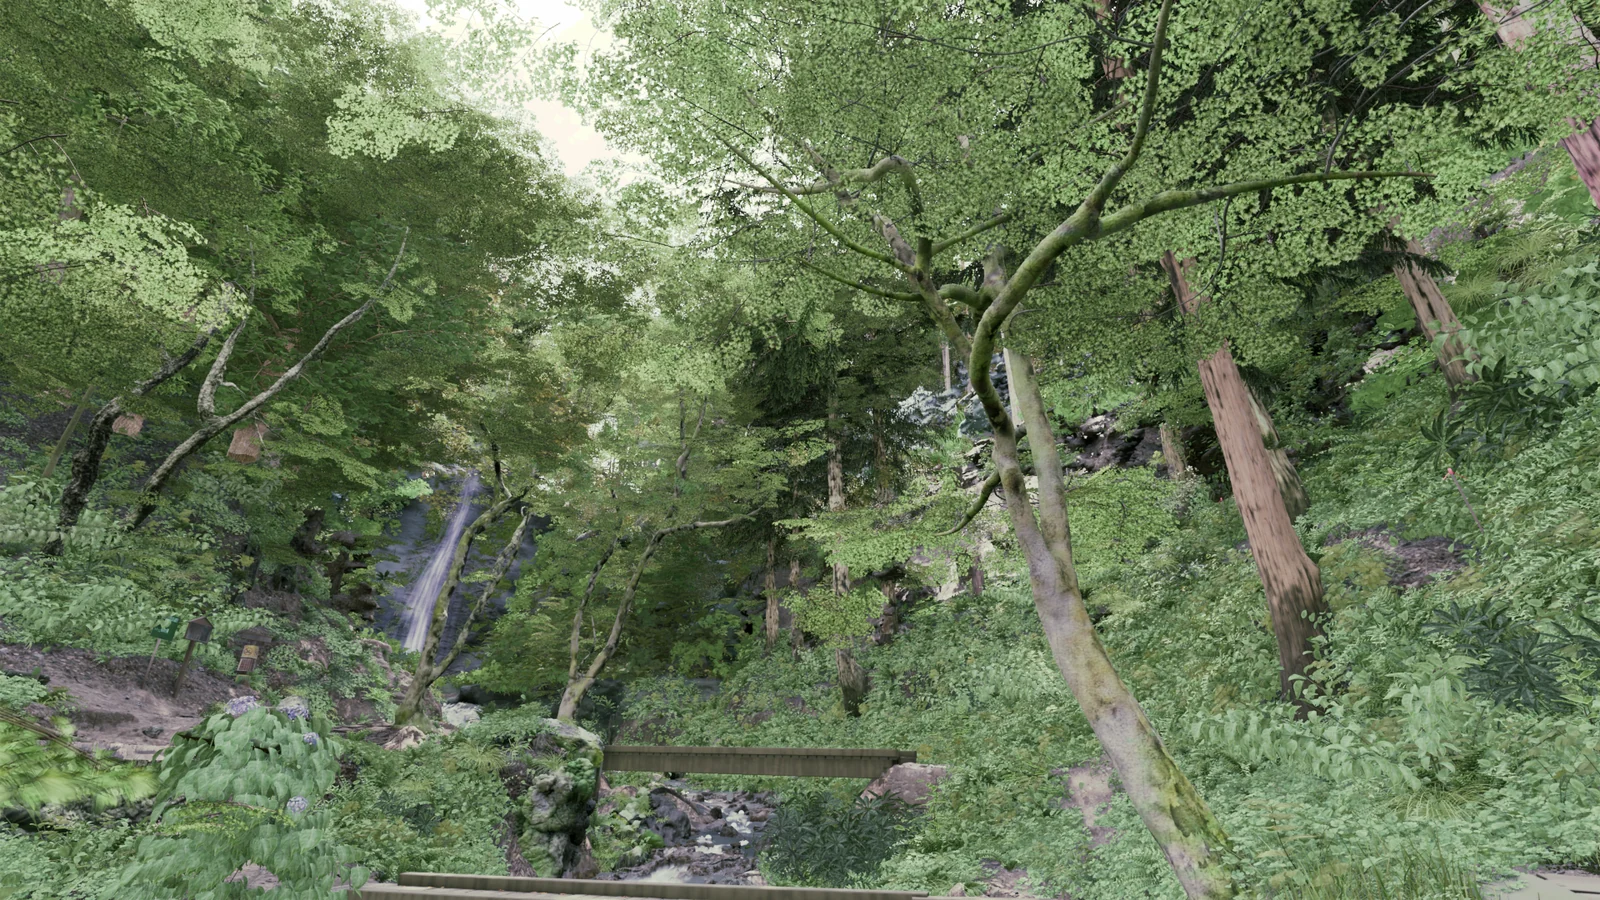
We prepared 22 bark colors and matched them to photos from 7 camera positions. Leaves get a material that lets light through.
Boards
Each board gets a slight bow and twist of its own.
Grass contact
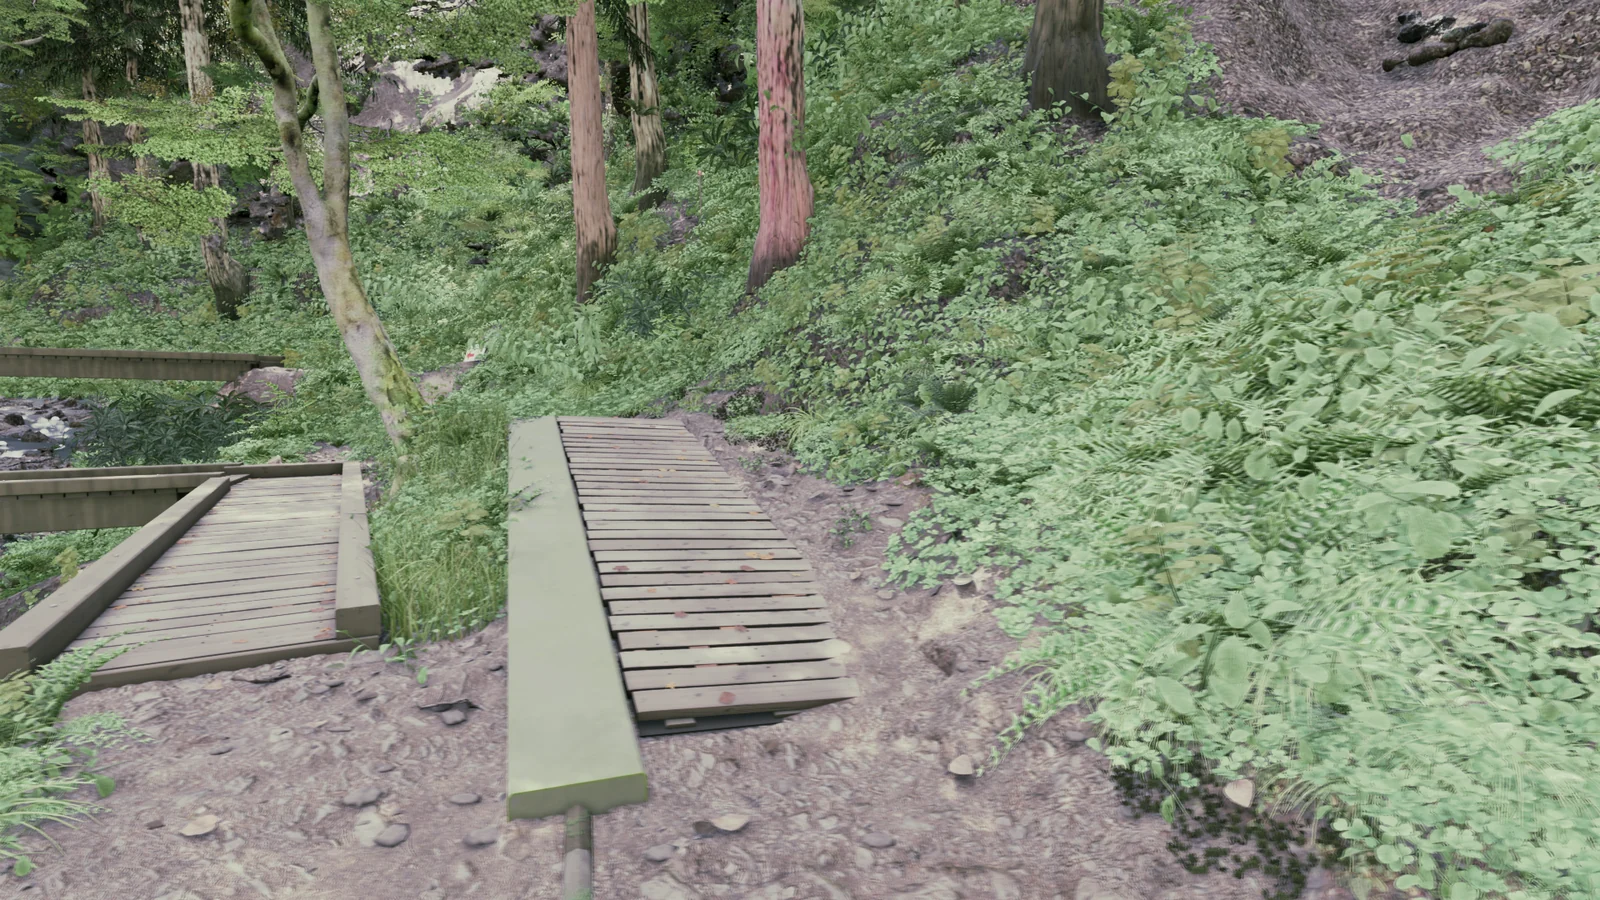
About 135,000 plants are checked against the scene, and the 3,544 that float are lowered or moved.
05 Making the stream and the waterfall
The stream surface follows flow speeds computed in Blender. White foam appears where the flow is fast.
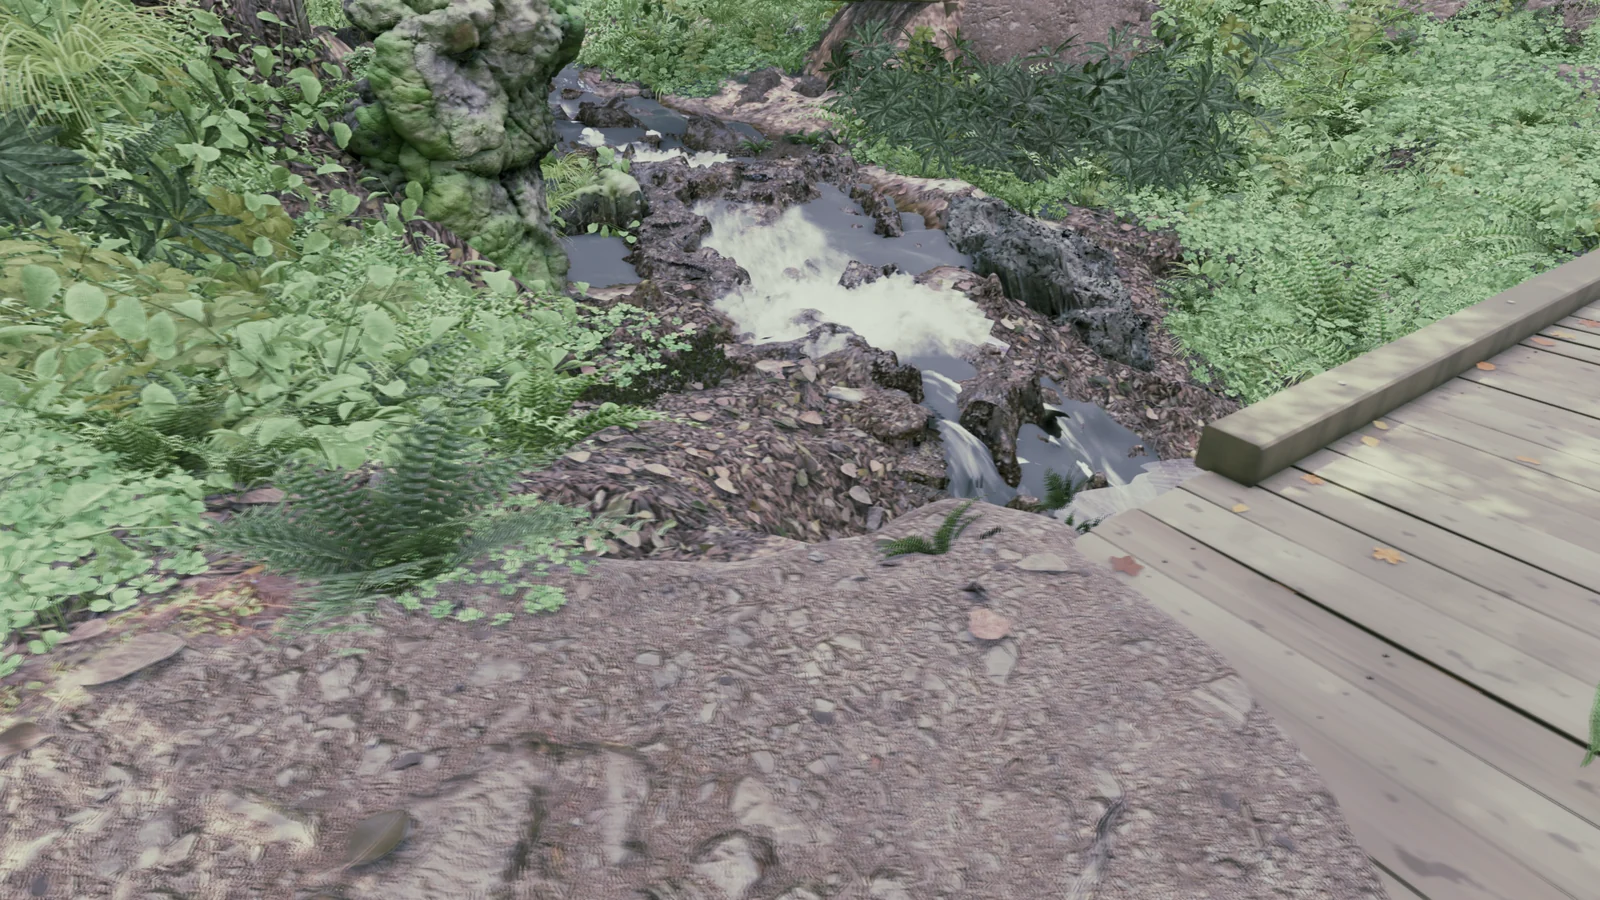
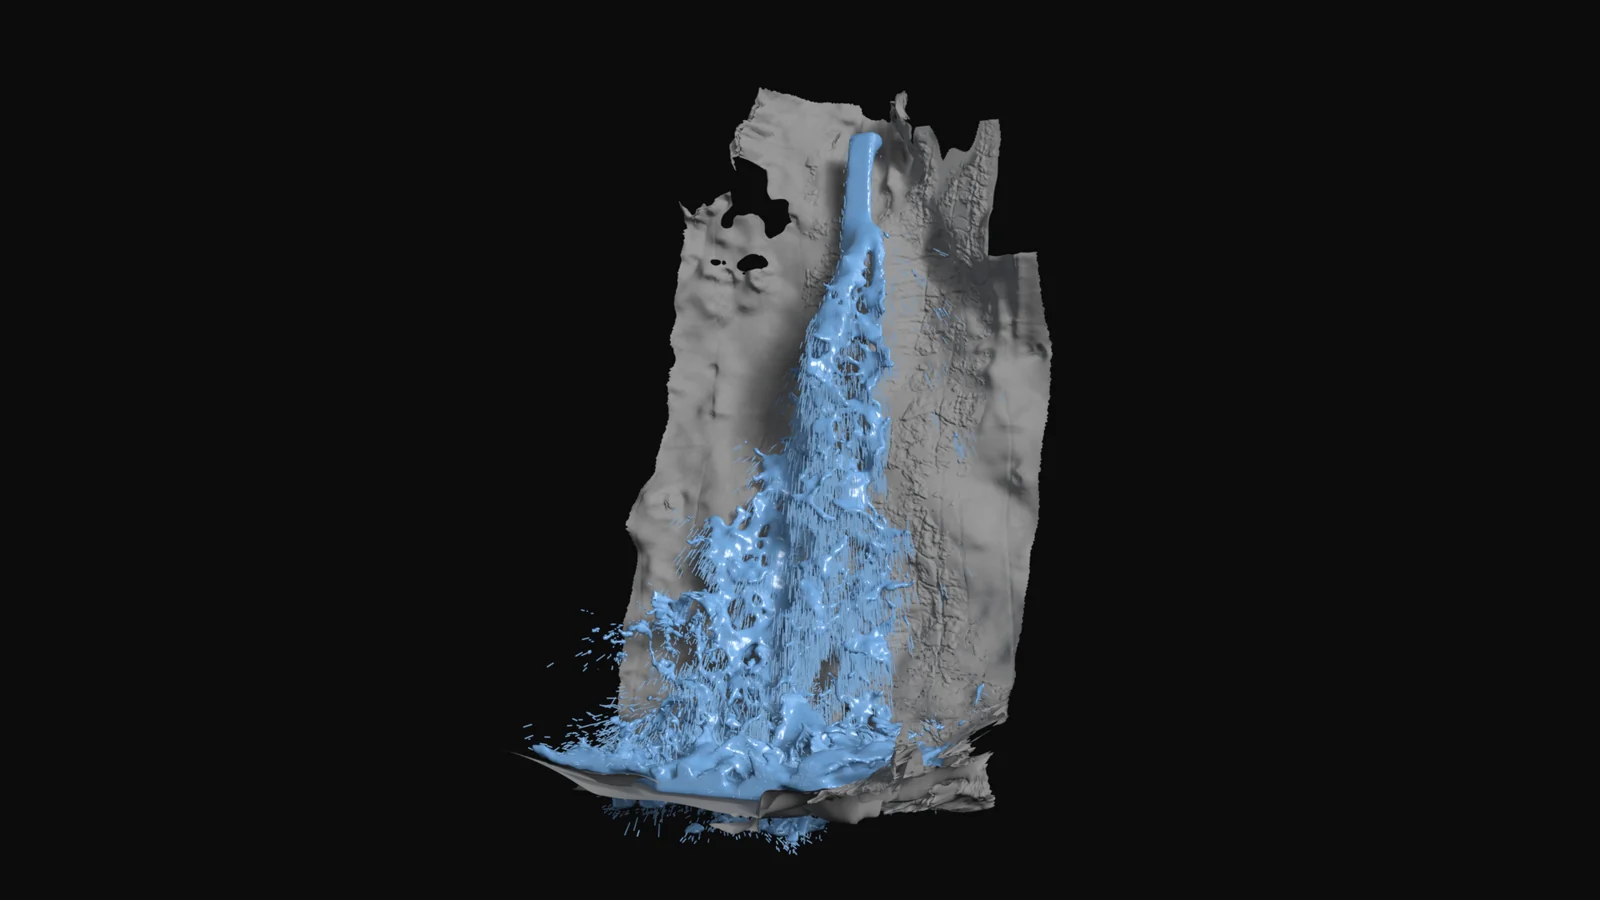
For the waterfall, we simulate water falling onto the scanned rock wall. Used as is, the result looked broken, so we replaced it with bands of water based on the simulation.
06 Checking color, surface detail and light separately
From the final image alone, you cannot tell whether a problem comes from color, shape or light. So with the same camera, we check color, surface detail and light separately and fix the actual cause.
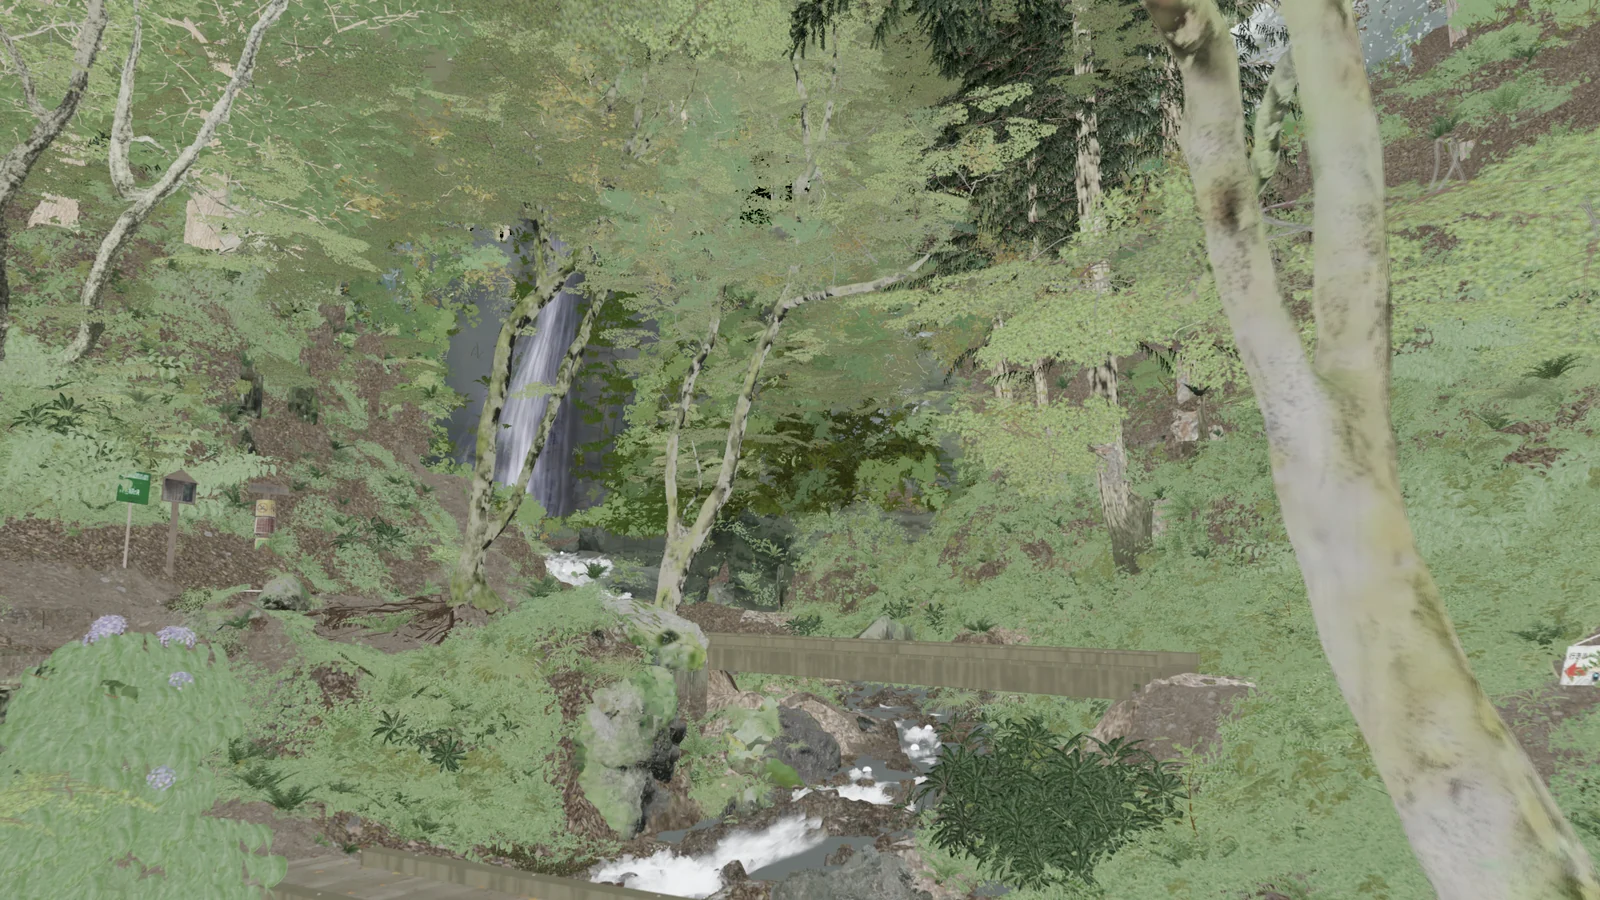
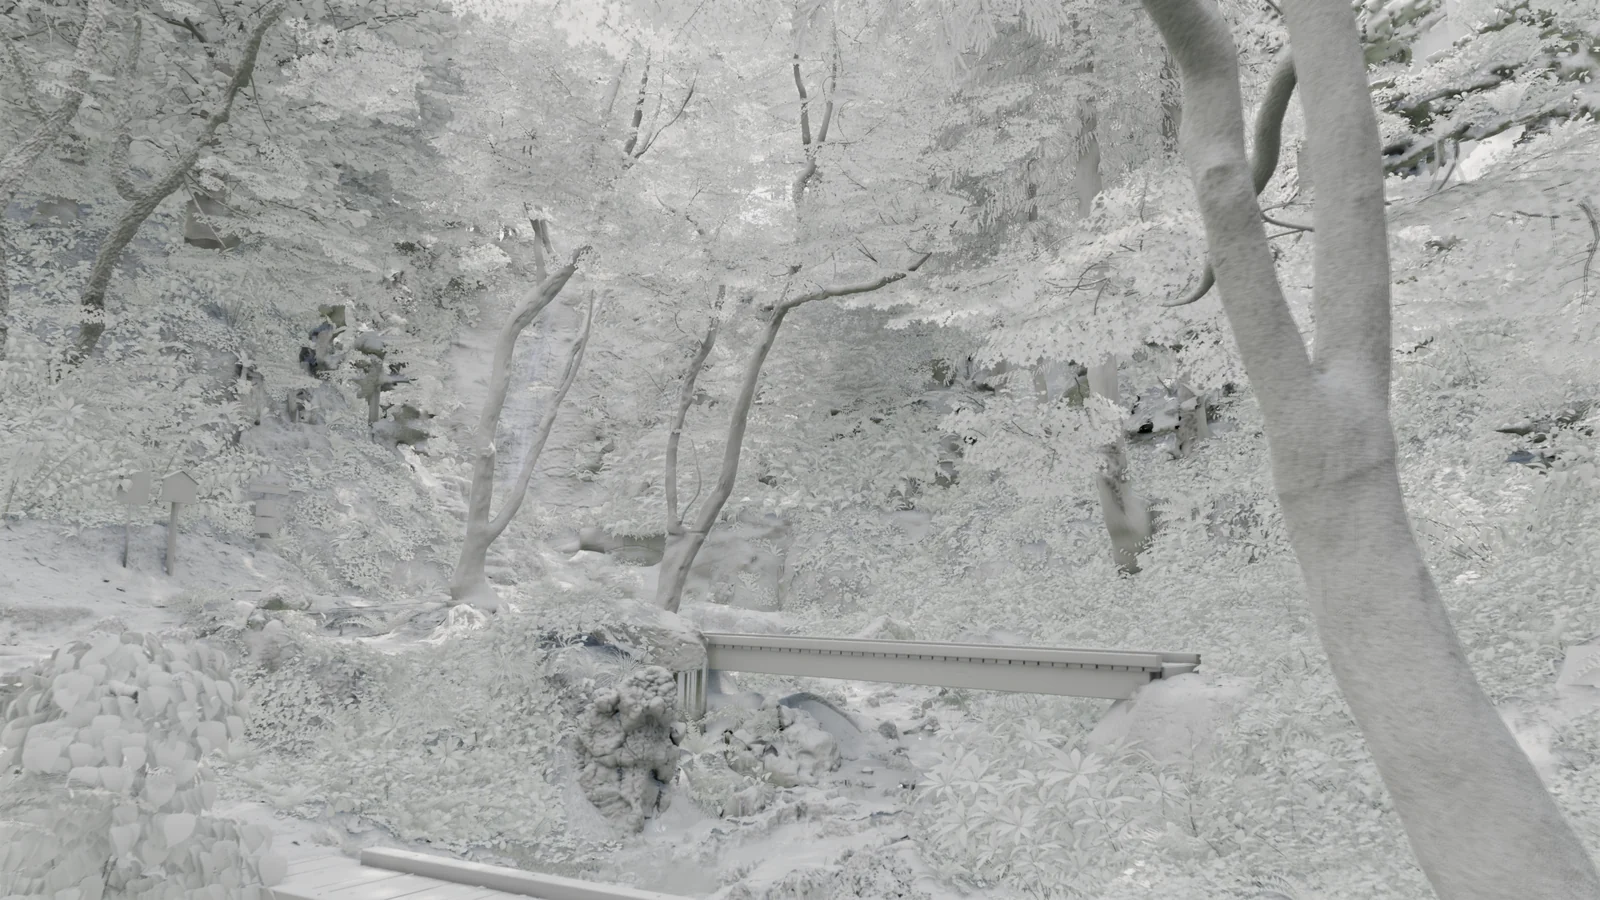
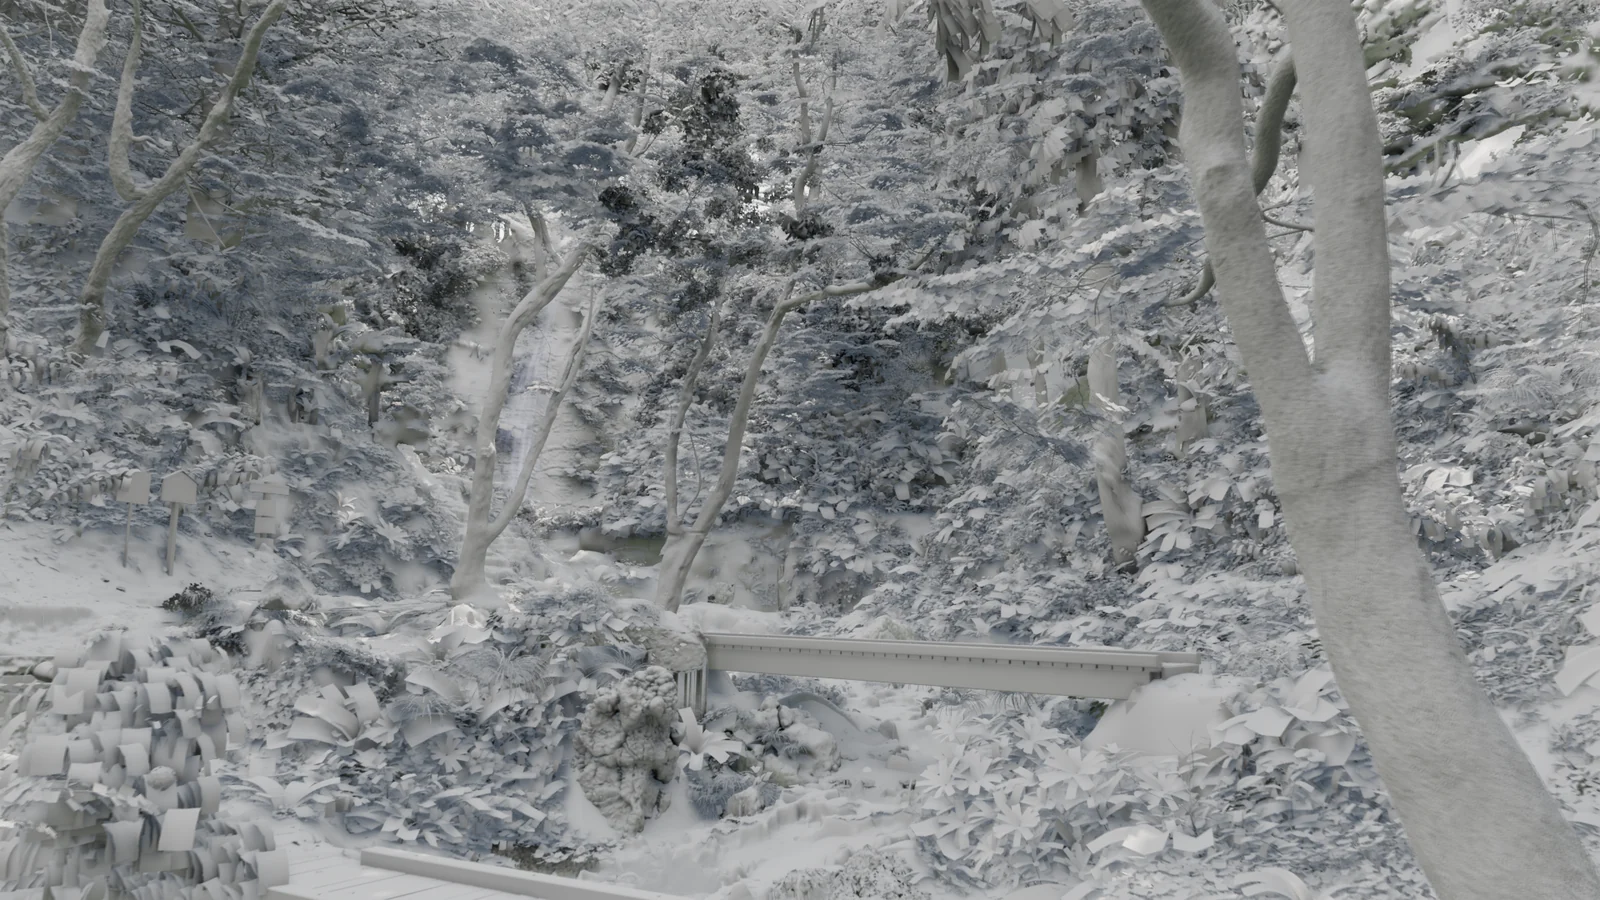
Light comes from an overcast Poly Haven HDRI and a sun, rendered with Lumen and finished with AgX.
07 Comparing with K2 photos from the same positions
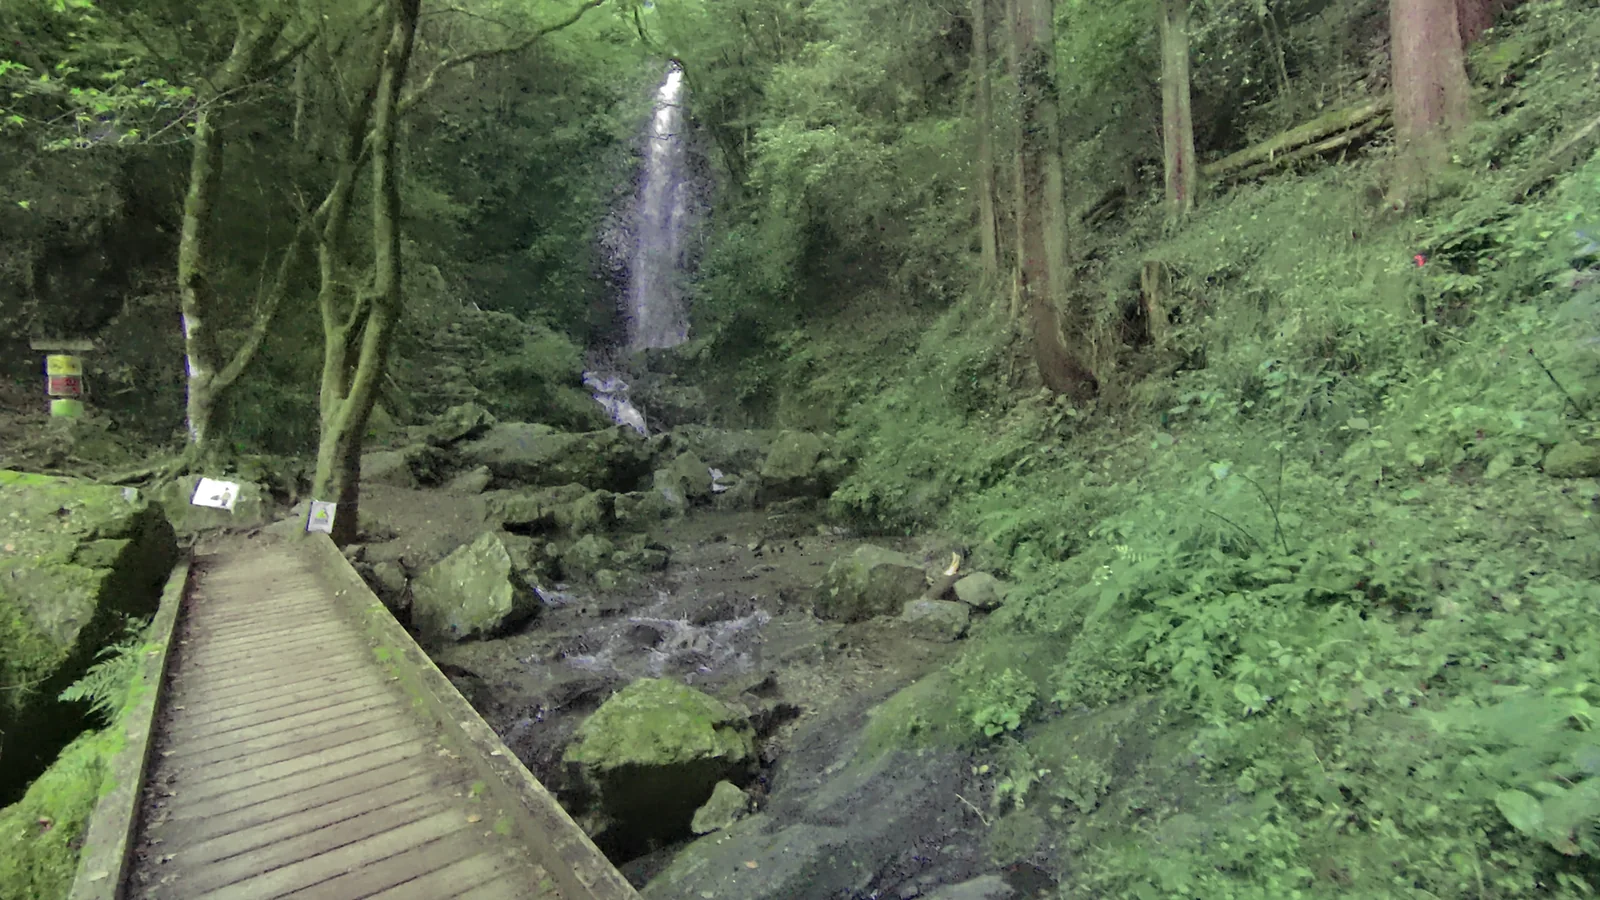
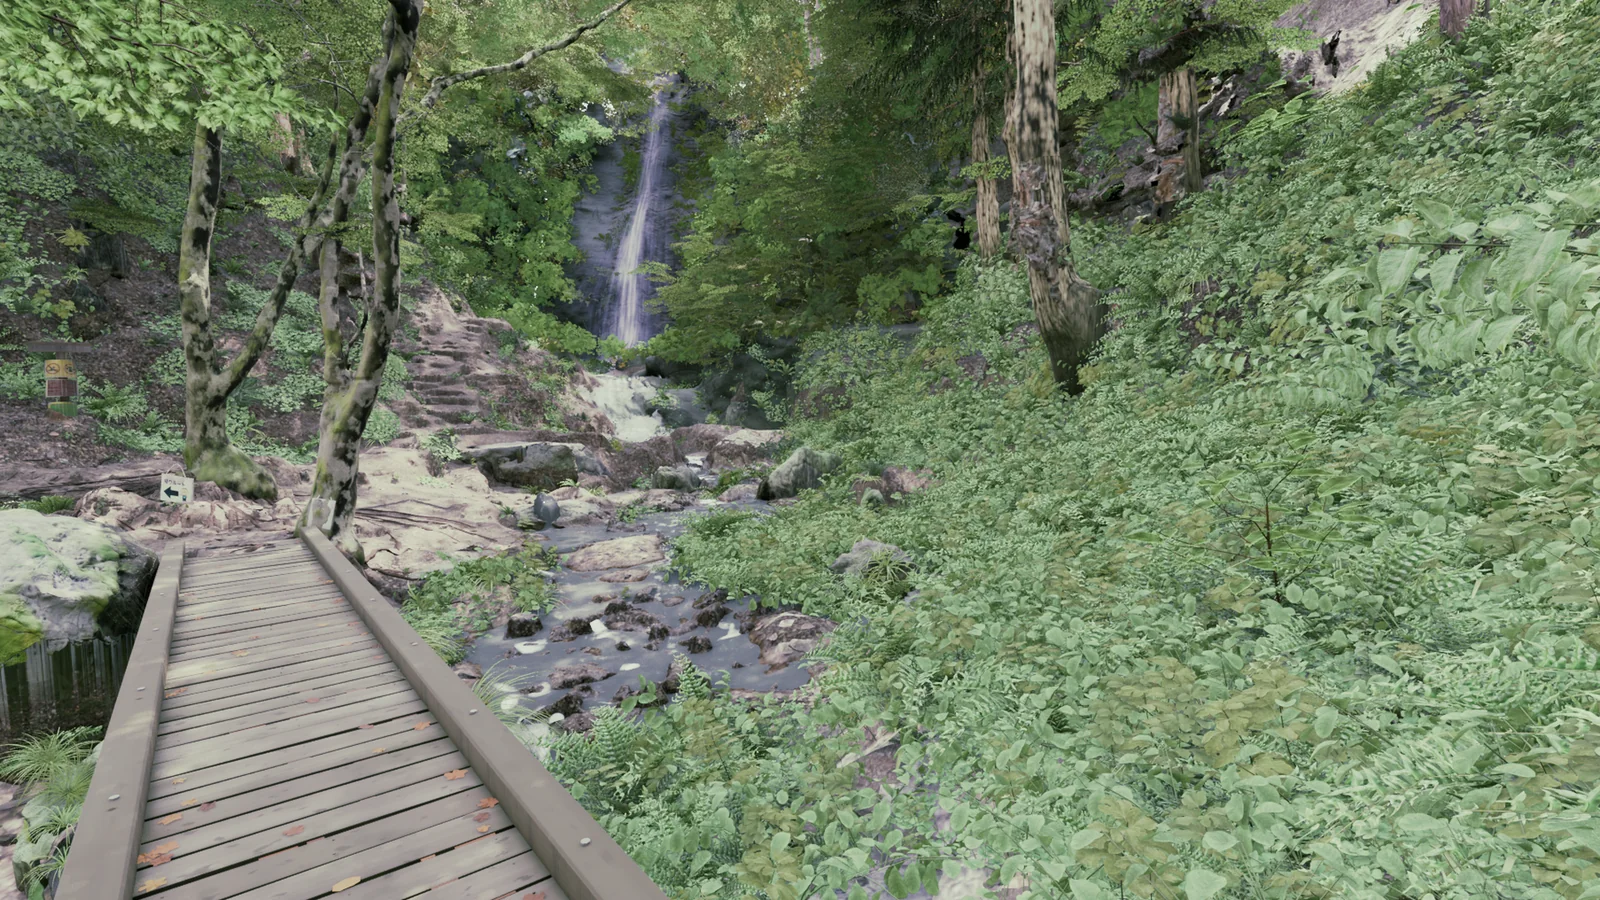
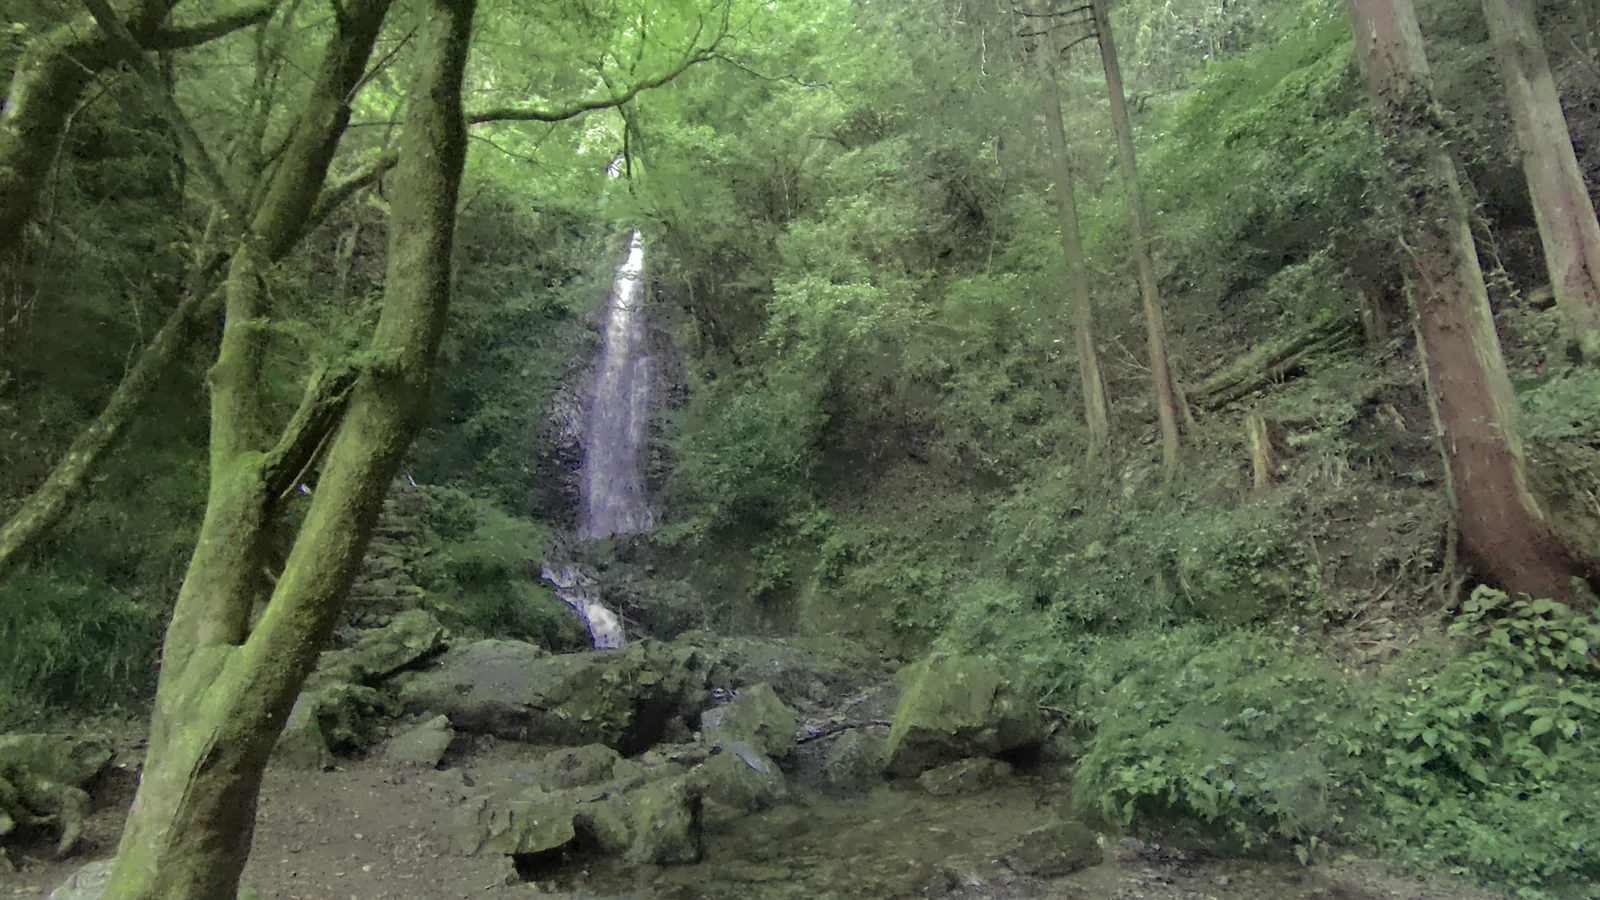
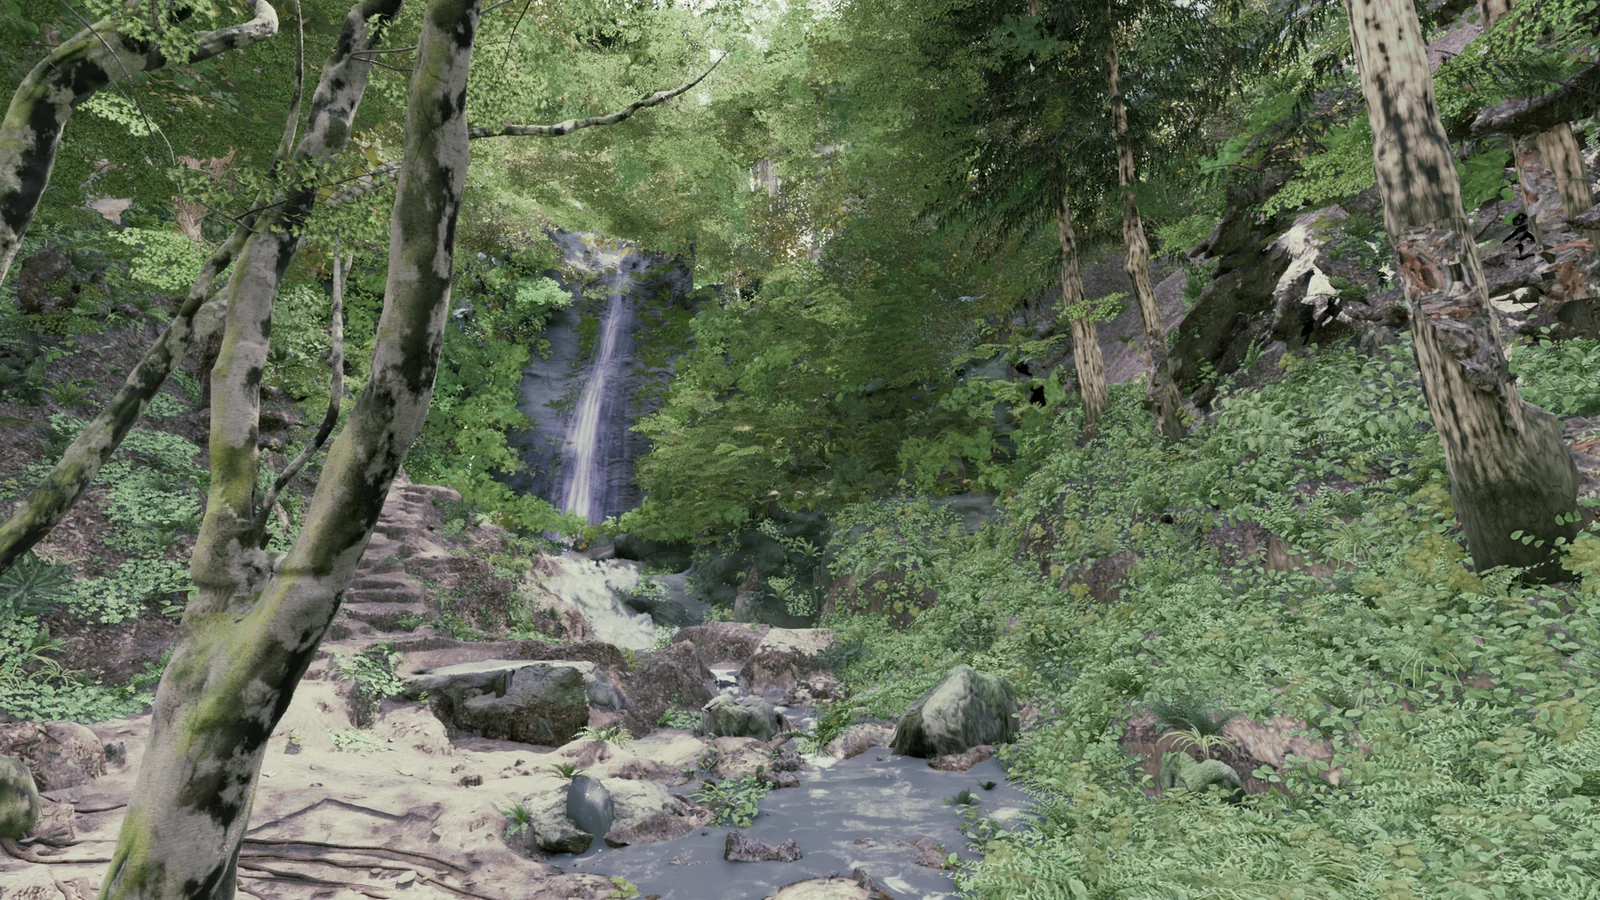
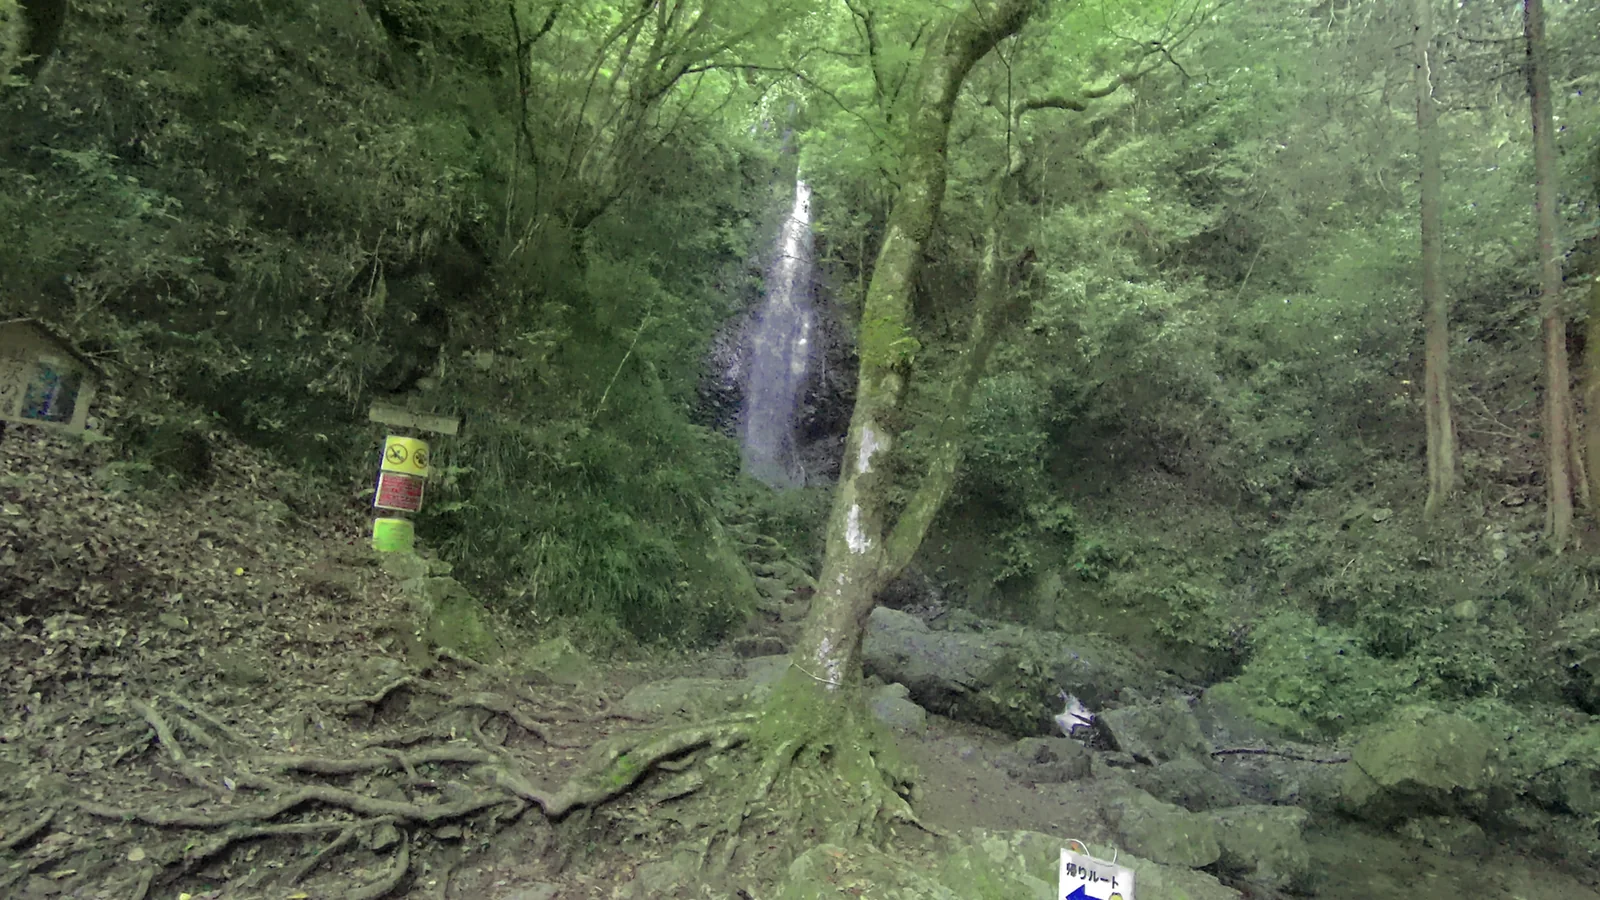
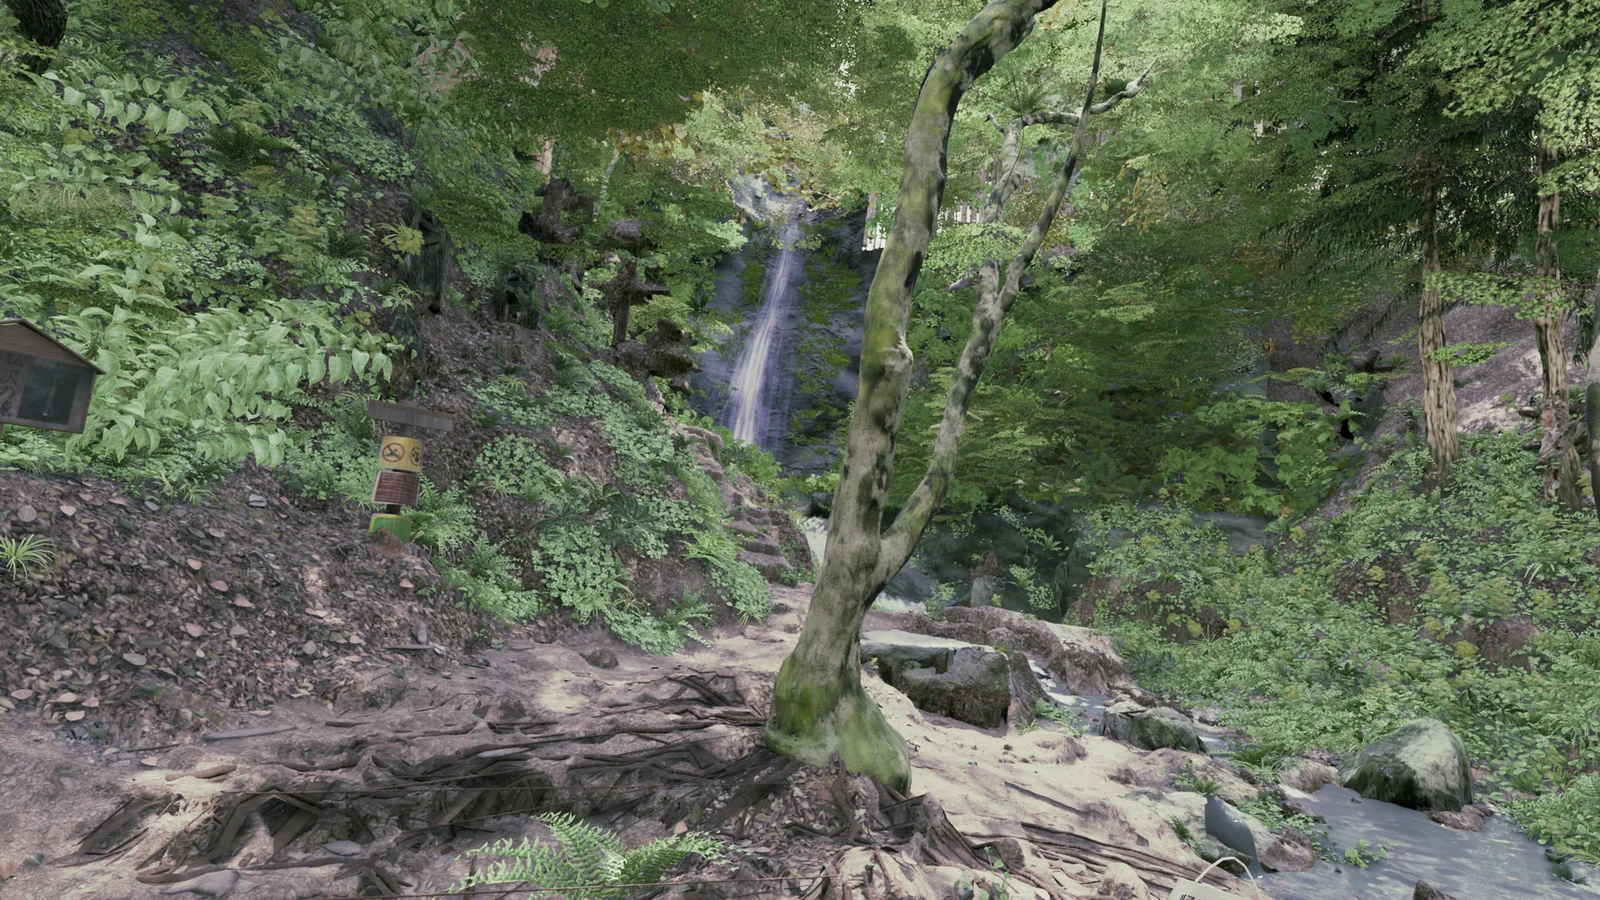
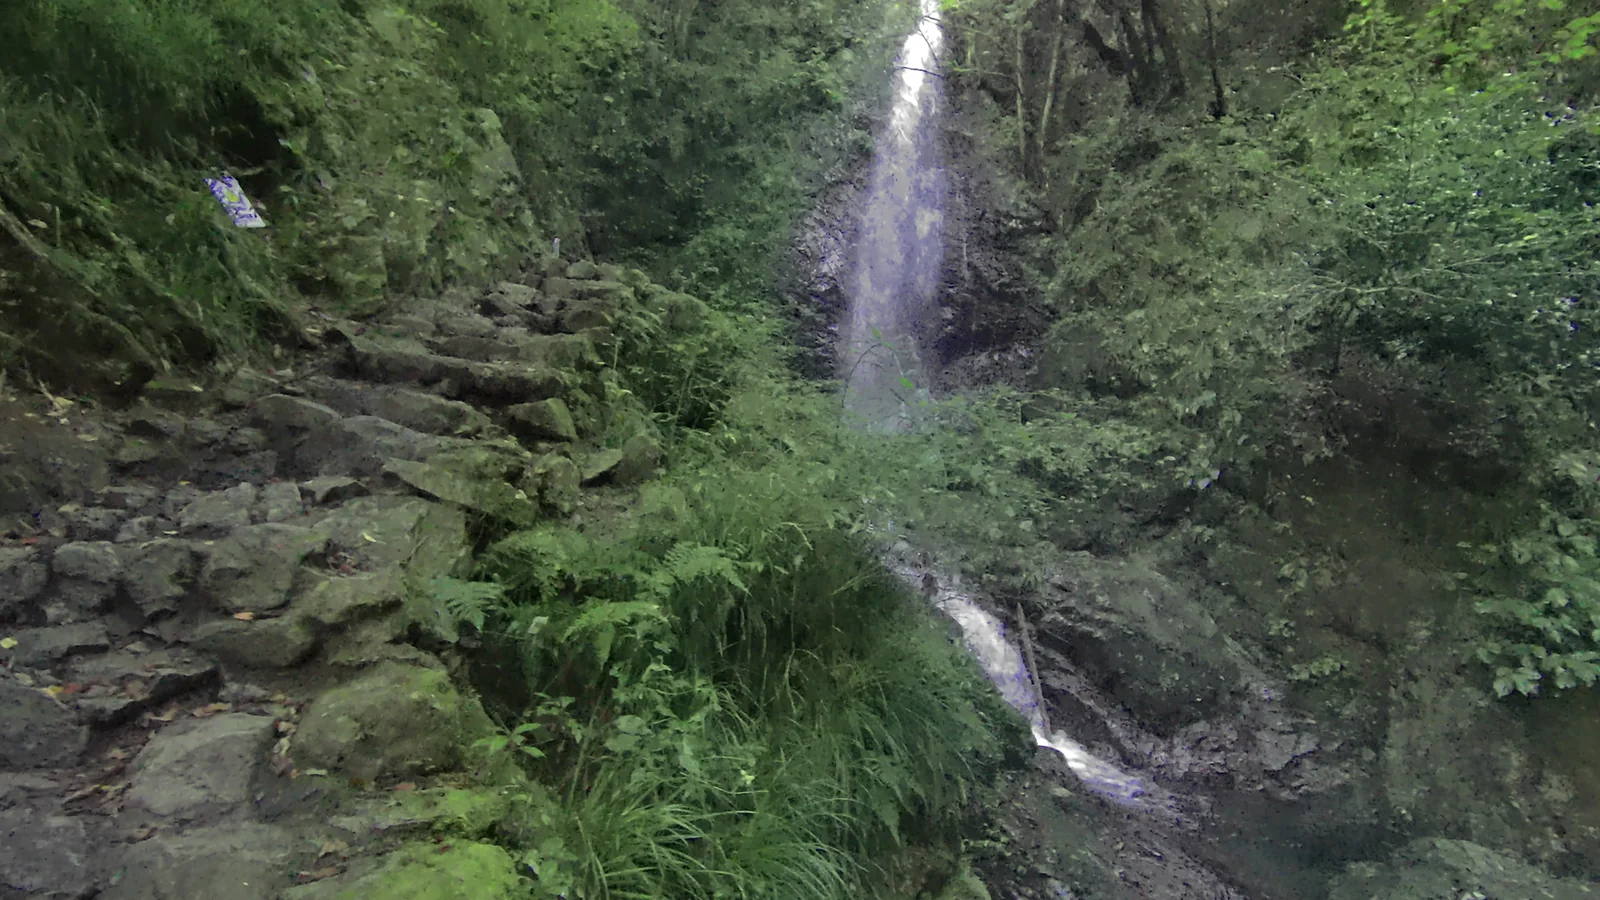
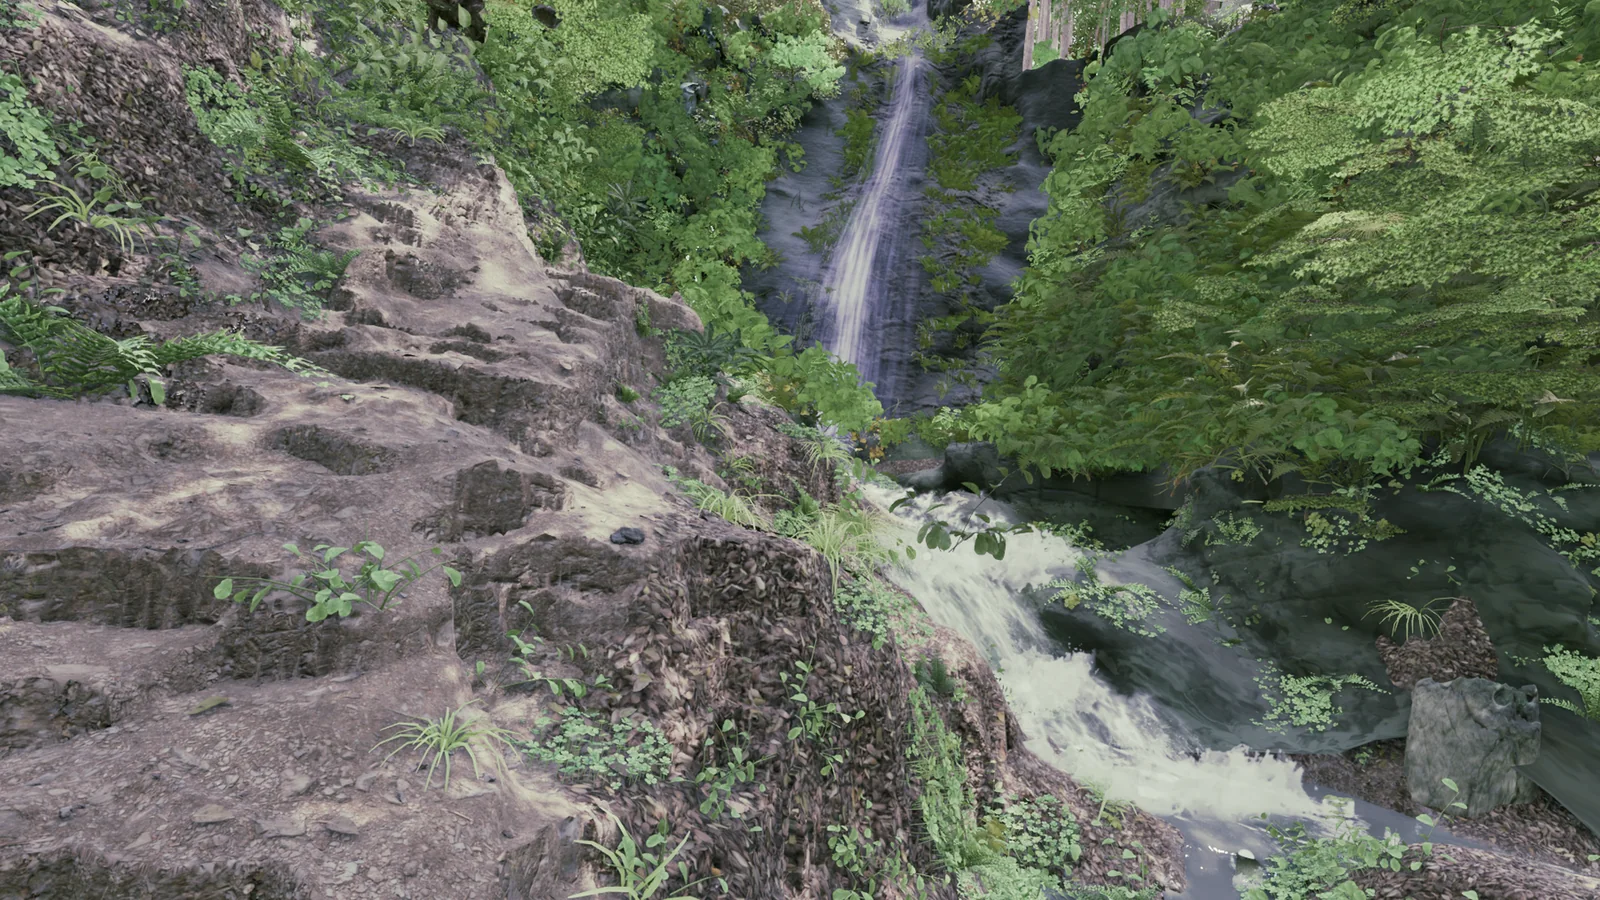
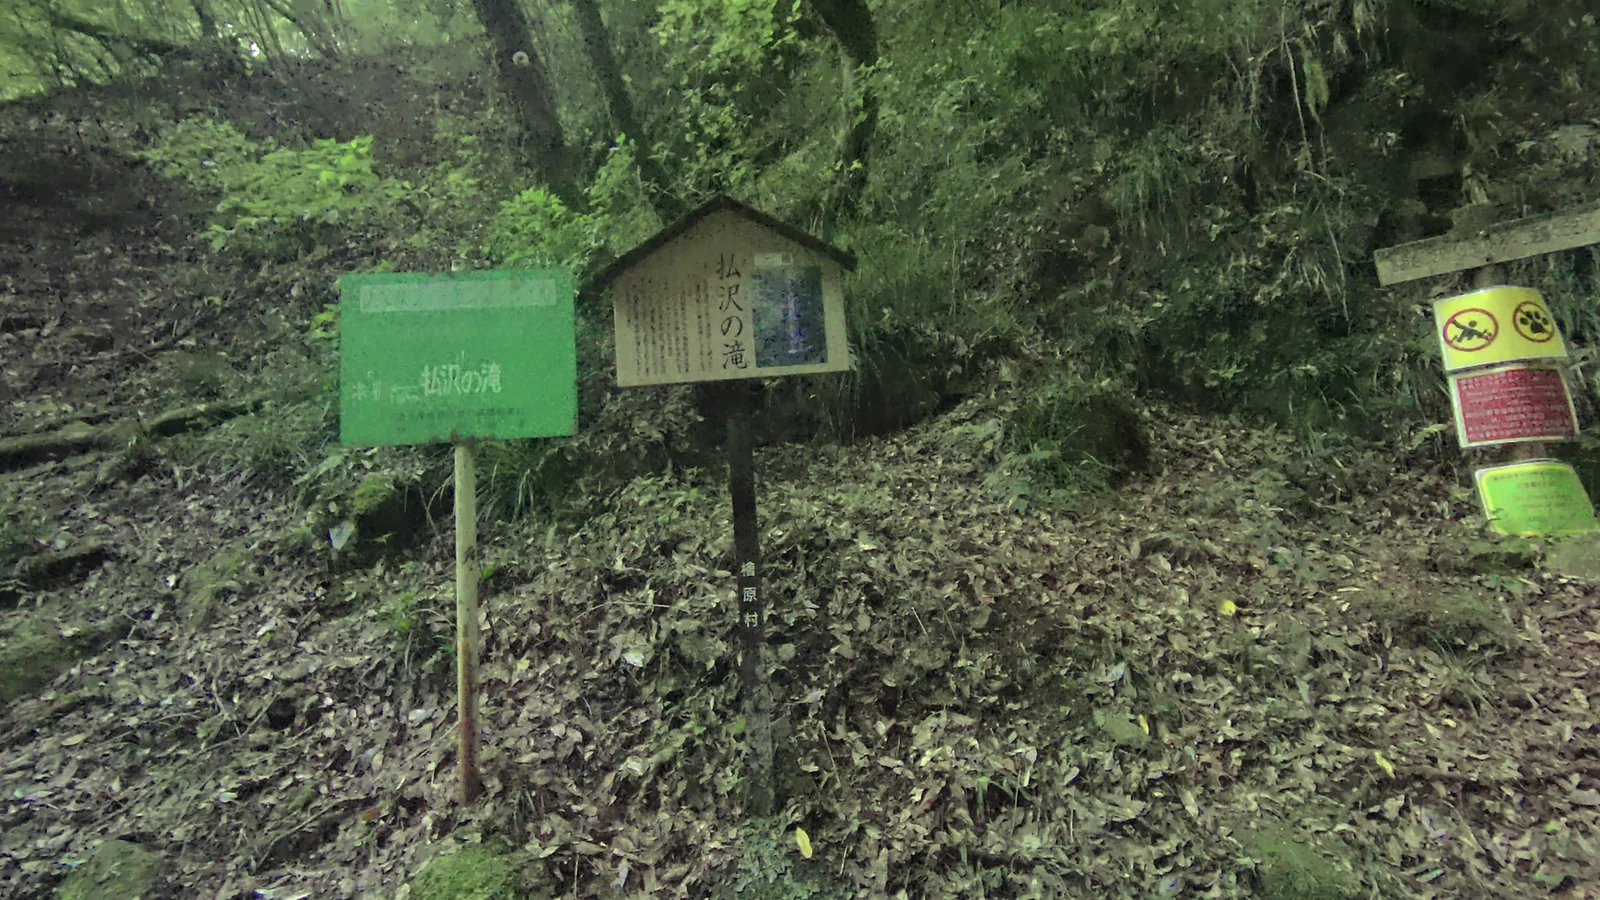
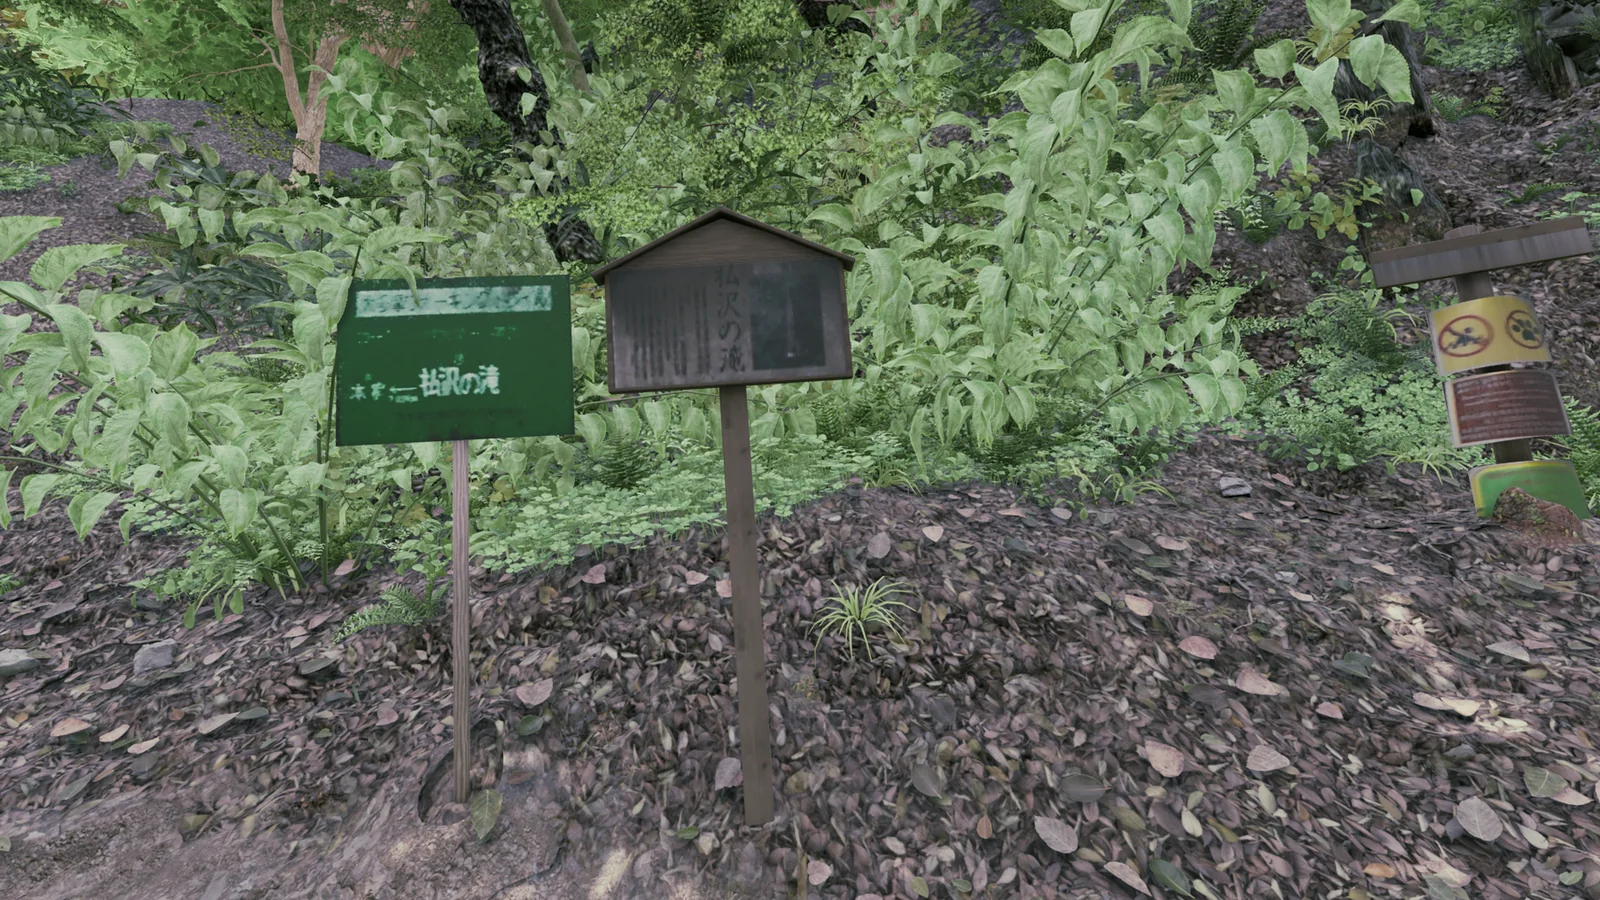
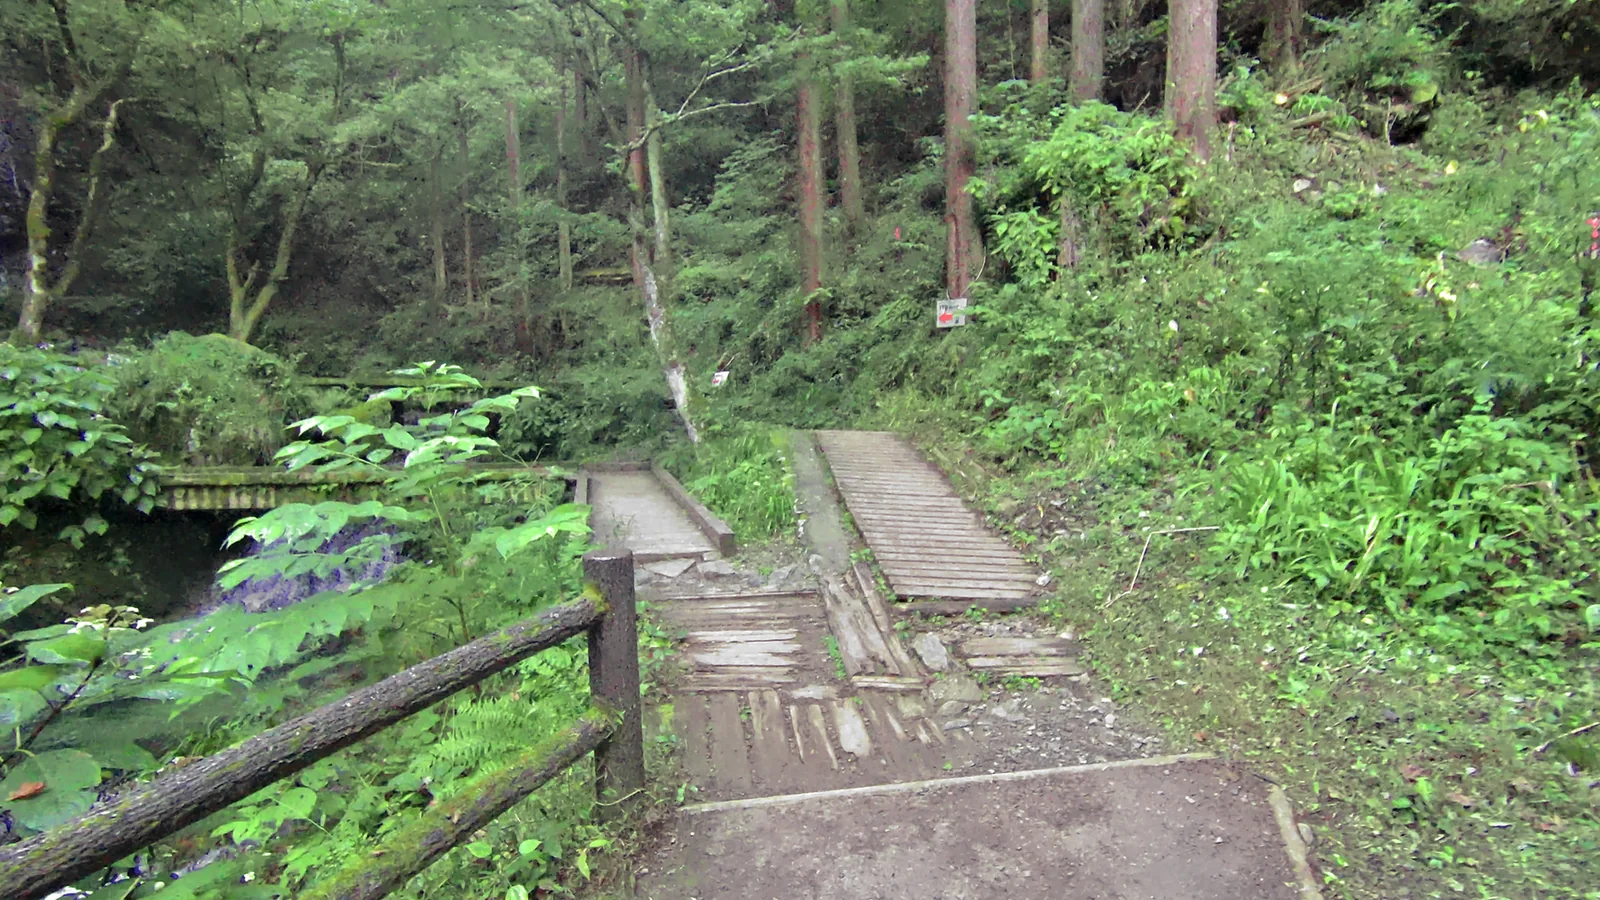
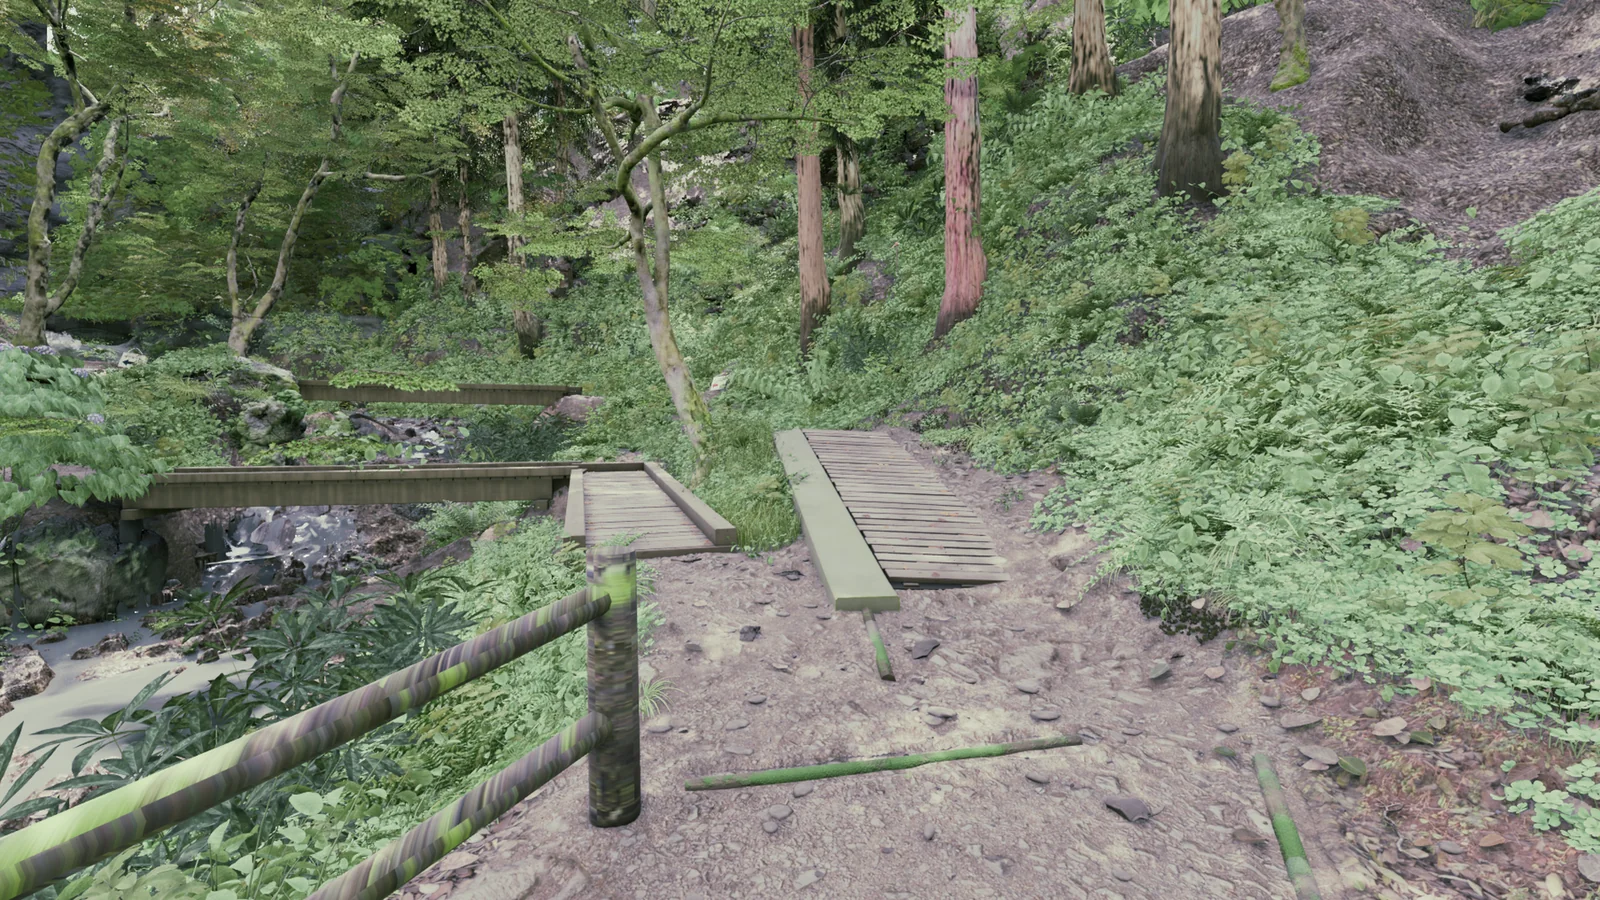
The K2 raw data contains photos much sharper than the 3DGS. We aligned 1,032 photos to the 3DGS and rendered UE5 from the same positions to compare.
K2 photos and UE5 renders are shown side by side. The UE5 side has an overall color adjustment. In this comparison we look for differences in object position and size.
08 Overlaying the 3DGS and counting gaps
We also compare against the 3DGS with the same camera.
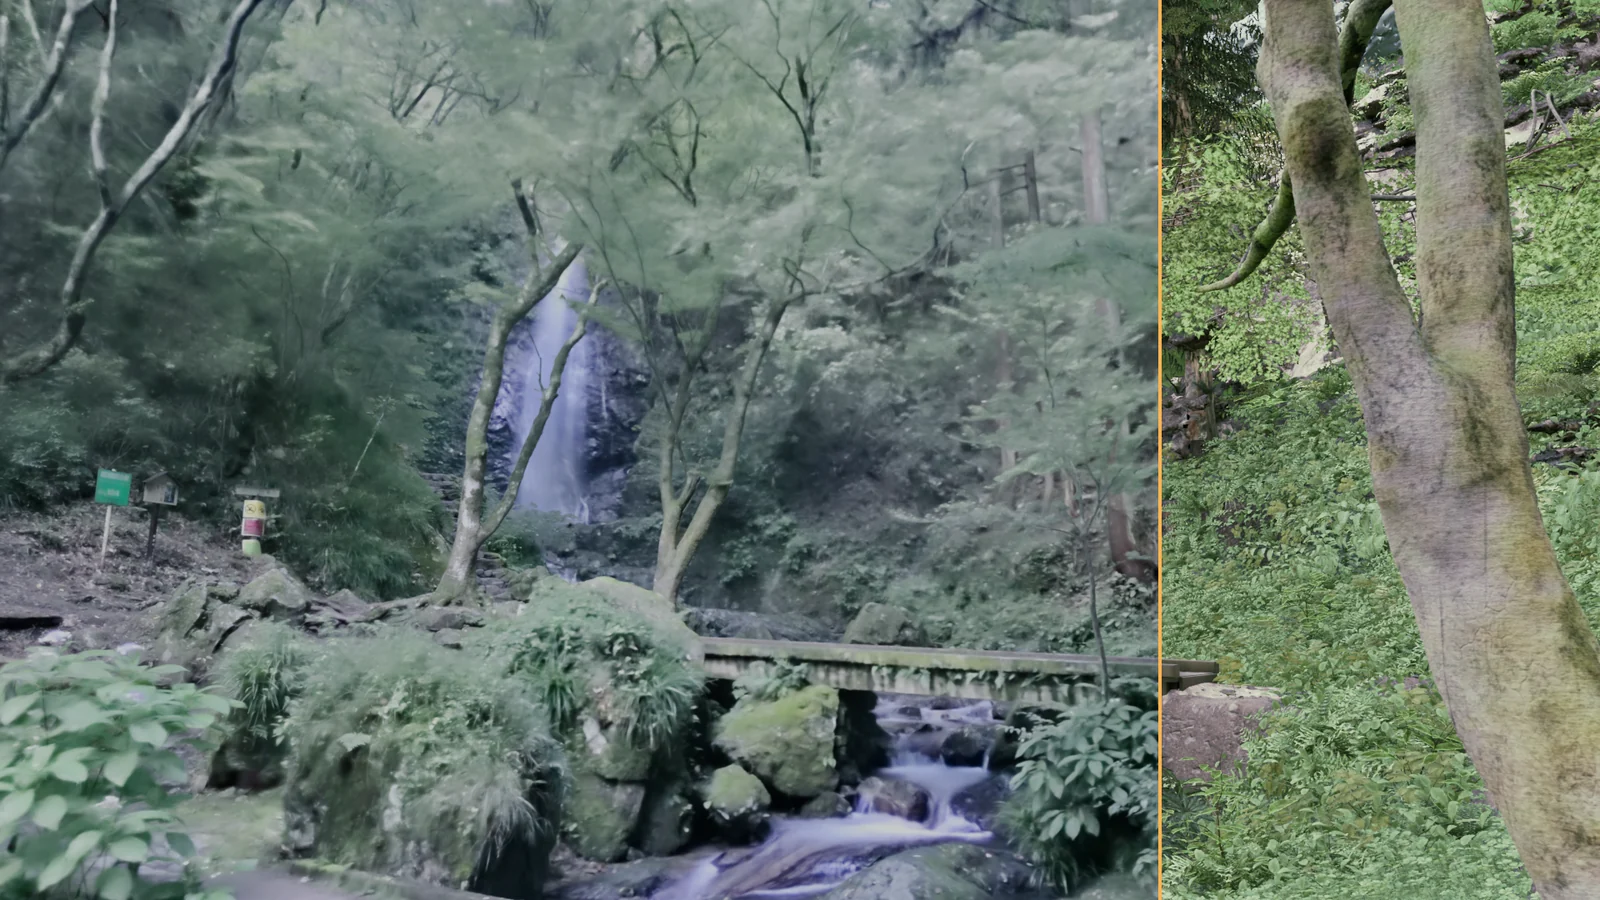
Problems that are hard to see get counted. For example, we count the sky-colored pixels showing through gaps in the rocks and ground from each view. We kept fixing until 24,540 gap pixels fell to 0 across the 20 check views.
09 Differences that remain
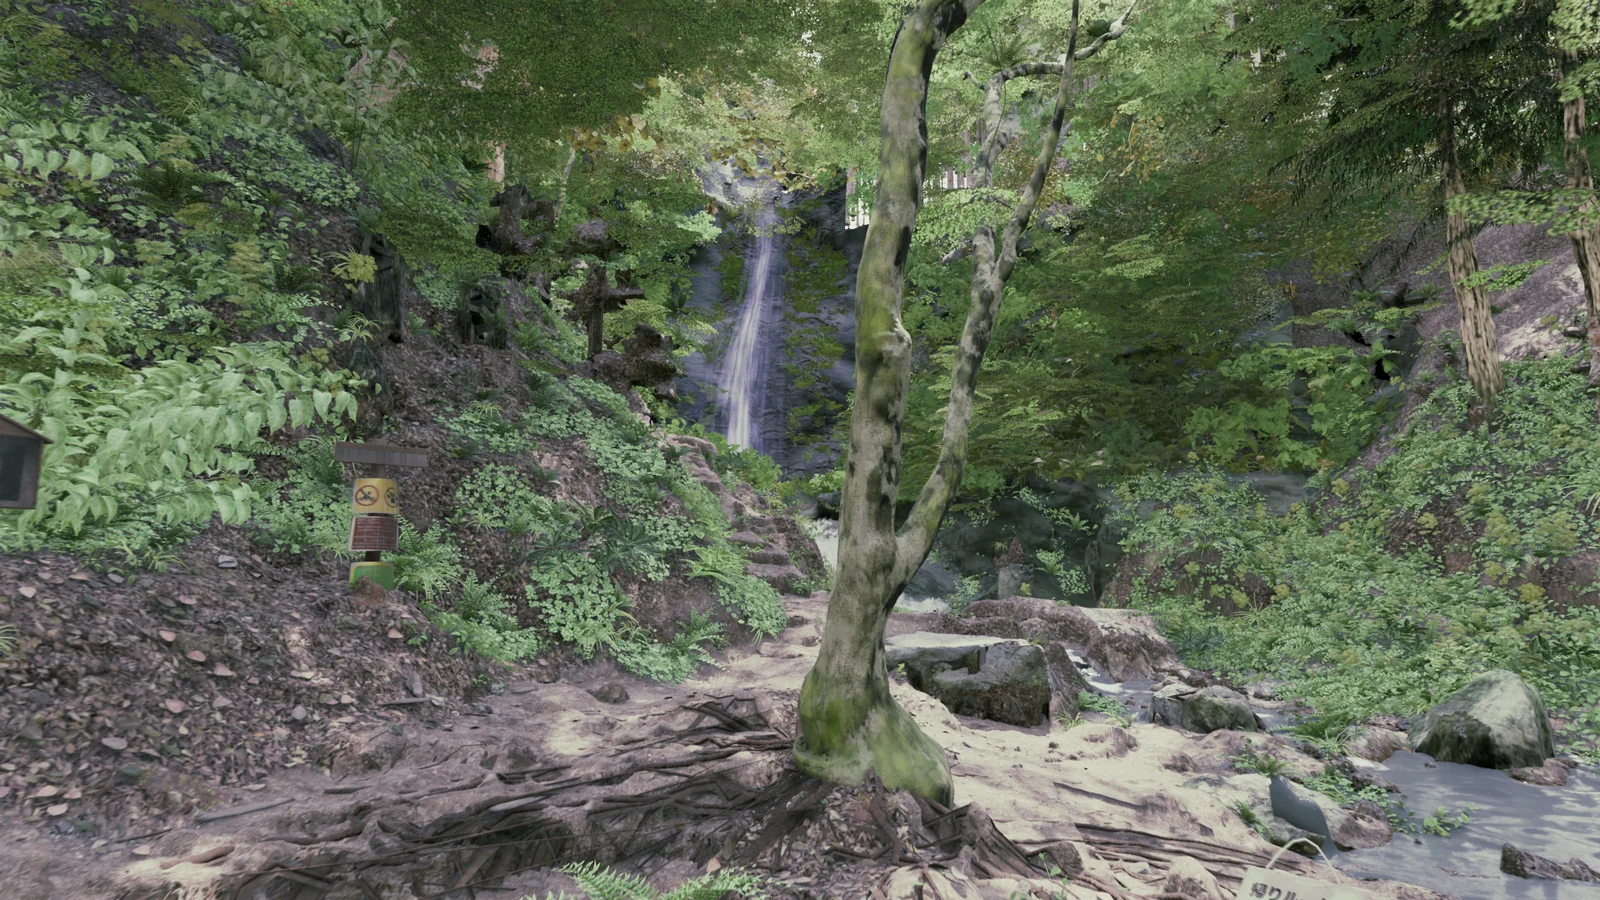
Positions and sizes are now closer to the photos, but not everything matches. The six views above are the better matches out of 12 we tried. Here is an example that does not match.
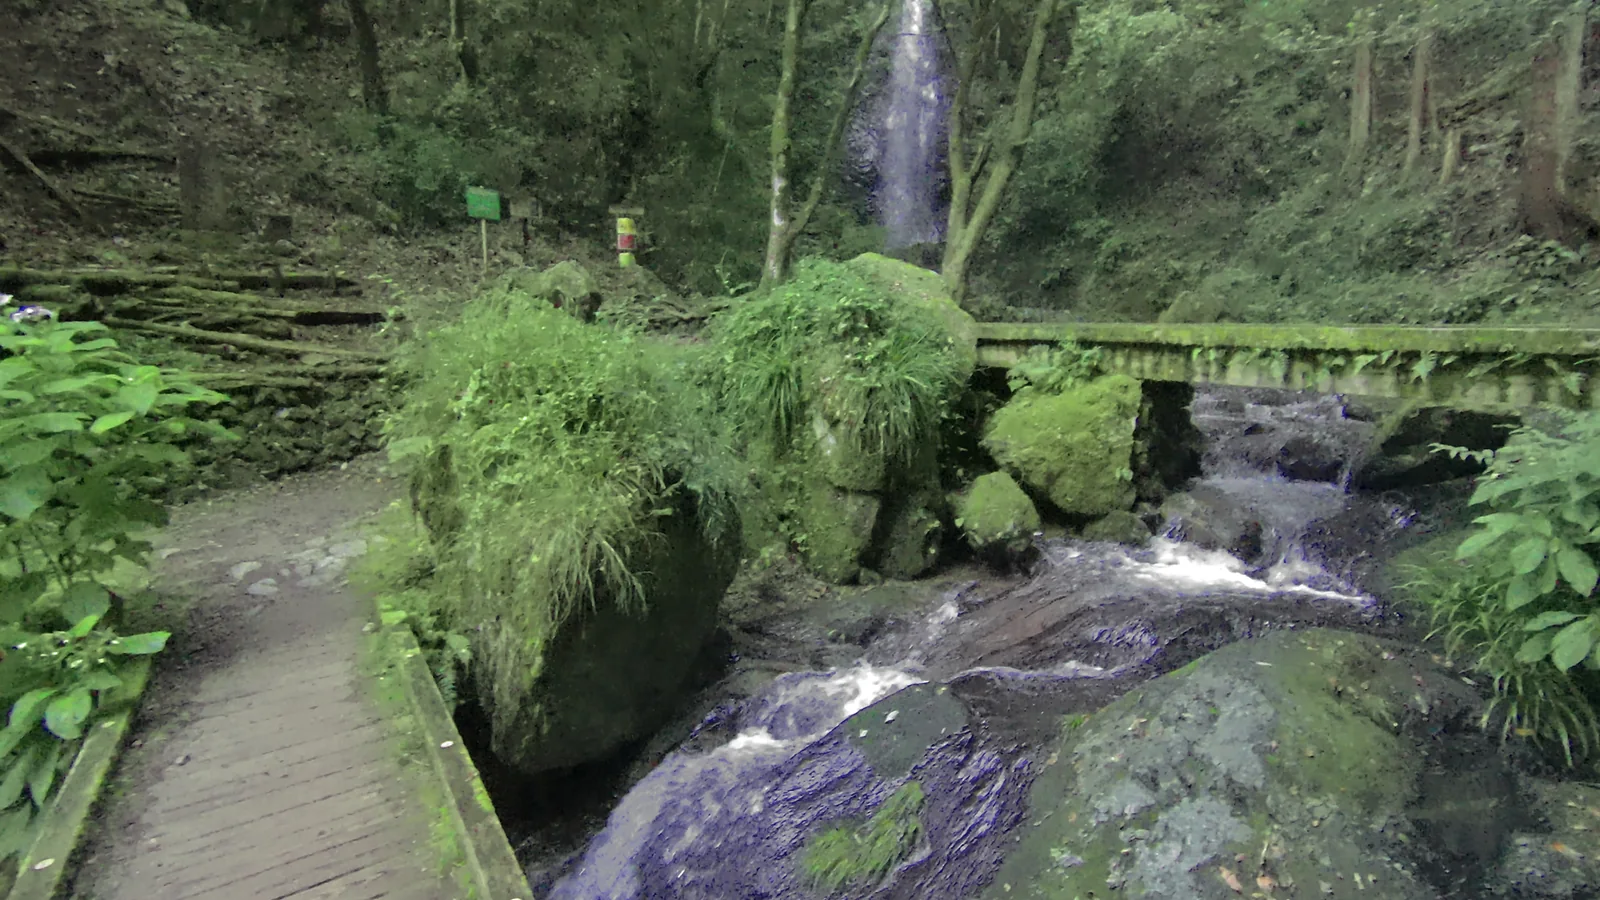
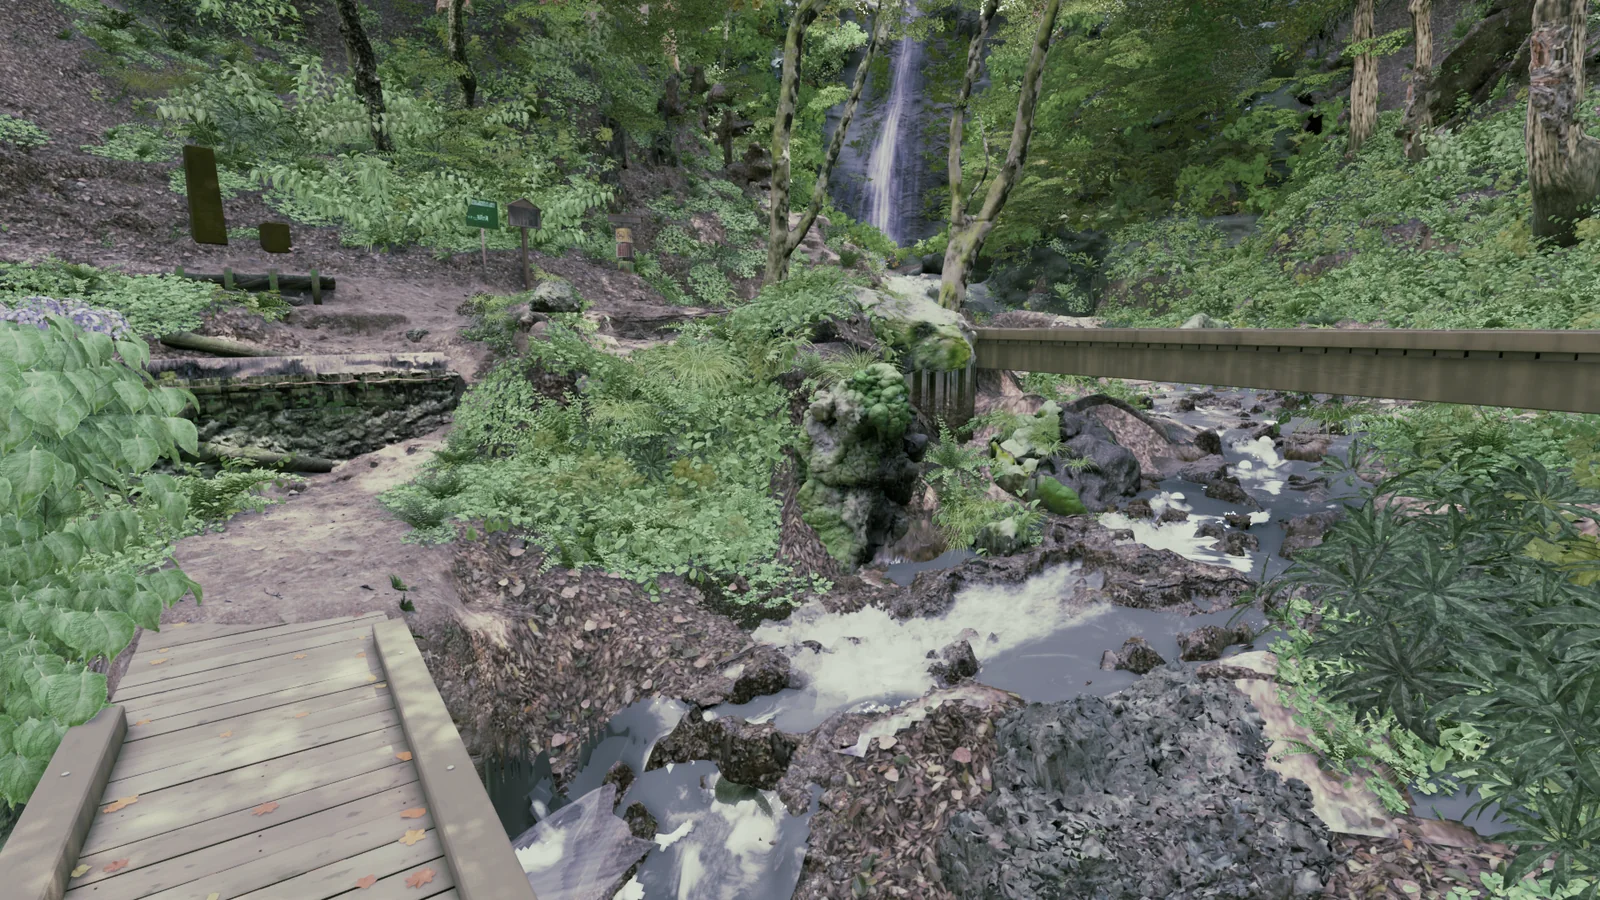
- Rock and water shapes: the large grass-covered rock and the water beside it differ in shape from the photo, and the moss on the bridge is not reproduced.
- Plant species and amounts: placement comes from the scan, but the species and form of each plant are not fully matched.
- Color and brightness: the way the light falls does not match the photos, and the ground looks brighter than in the photos in places.
10 Summary
The process runs as follows.
- Read: extract the shapes and positions of terrain, rocks, trees and plants from the 3DGS.
- Generate: assemble the scene layer by layer with scripts written by AI.
- Compare: line up K2 photos and 3DGS with the same camera, find differences and fix them.
We scan real places
in a form ready for film backgrounds
We capture locations as 3DGS and deliver them in formats you can use in Blender or Unreal Engine.
Tell us what you need, including background production.