01 Why extract source images from raw data
Exporting a PortalCam scan through LCC Studio gives you 3DGS, a point cloud, and a LiDAR mesh. That covers most of what you need for video production, but there are cases where you separately want the 4K images from the camera itself, as captured while walking the site. There are two use cases 3DGS alone can't cover.
- Using them as AI reference material — real 4K photographic images give noticeably better precision than a 3DGS render when used as reference for background fixes or generative AI.
- Trying 3D reconstruction through a different pipeline — it's worth checking whether the same field-captured data can be reused for methods other than 3DGS, such as photogrammetry (later in this article, we'll be honest about what we found when we actually tried this).
PortalCam's LCC Studio does have a GUI feature for exporting images, but this article uses a method that never opens the GUI and works entirely through CLI tools, since that's easier to fold into batch processing and automation.
02 What's inside a PortalCam scan's output
Before extraction, it helps to know what's inside the folder PortalCam creates for a single scan. Under ShotData/<scan name>/, the layout roughly looks like this.
ShotData/<scan name>/
├─ 2026-XX-XX-XXXXXX.xbin        # Raw sensor recording (images + LiDAR + IMU + GNSS)
├─ ply/ply-result/                # The 3DGS itself
├─ Lcc2/lcc2-result/              # LCC2 export (3DGS + mesh)
├─ mesh-files/<scan name>.obj    # LiDAR mesh (coarse)
└─ project_data/                  # Trajectory, camera configuration, and logs
The only thing we use here is .xbin — the heaviest file in the set. Its size scales with recording time; a scan of a few minutes lands around 1GB.
03 What xBin actually is: H.264 video, not JPEG
Analyzing .xbin reveals its real identity: an XBAG-format container — essentially one box holding all the sensor data at once. Camera footage, LiDAR point clouds, IMU, and GNSS are all interleaved in a single file in time order.
You could pull the video portion out yourself and hand it to ffmpeg, but that requires correctly walking the file's internal structure, which is a fair amount of work. The XGRIDS-native CLI tool covered in the next section lets you skip worrying about that step entirely.
04 The command to extract 4K source images
The tool used here is extract_images_h264.exe, bundled with LixelStudio. There's no need to launch LCC Studio or Lixel Studio — it's a single command line.
"C:\Program Files (x86)\LixelStudio\extract_images_h264.exe" ^
  --hbc_path <path to .xbin> --out_dir <output directory> ^
  --out_fps 5 --prj_version 1 --device_type 4 --use_blur_detect 1
--prj_version 1 is not optionalOmit it and the tool exits silently with just "hbc not exsit" — no error message at all. Use 0 for .hbc format, 1 for .xbin format.--device_type specifies the capture device, but PortalCam isn't listed among the documented options. After actually testing it, here's what worked.
| device_type | Target device | Result |
|---|---|---|
| 1 | Lixel L2 | 0 images |
| 3 | Lixel L2 Pro | 0 images |
| 4 | Lixel K1 (this is the value PortalCam needs) | Extraction succeeds |
| 5 / 6 | (other devices) | 0 images |
Get just these two flags right, and a folder per camera appears under your output directory, filled with 4K-class fisheye JPEGs named by timestamp. Note that the output frame-rate setting effectively has no effect — every frame from the source data is output regardless.
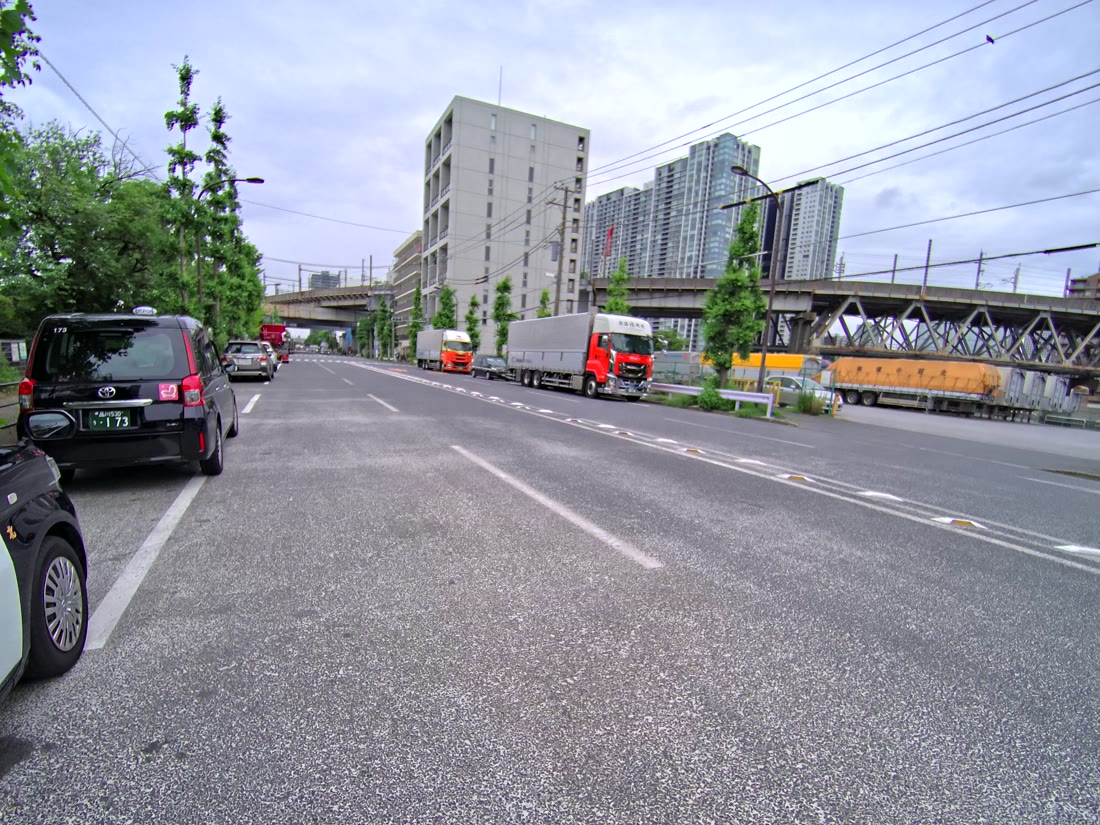
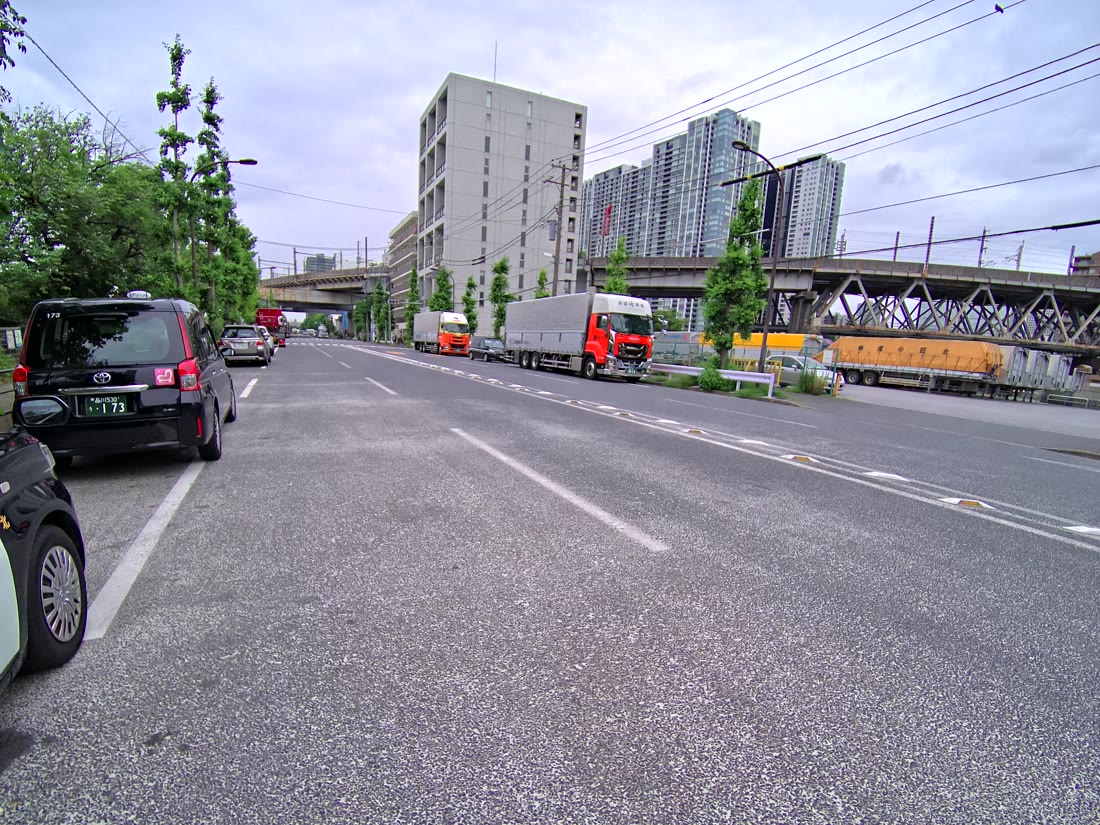
fisheye2perspective.exe. The image at the top of this article, and the figures below, are all post-conversion.05 The constraint: only 2 of the 4 cameras come out
PortalCam carries four lenses — a main and a secondary on each side. Definitions for all four exist inside the .xbin file as well.
In practice, though, extract_images_h264.exe only decodes the two main lenses. We haven't yet found a way to output the secondary side.
Fortunately, the two streams you do get form a stereo pair recorded at the same instant, so parallax information itself is preserved.
06 Testing it: photogrammetry from the extracted images fails across the board
From here on, the conclusion comes with caveats. We wondered whether, if 4K source images could be pulled out, photogrammetry could also build a mesh from them — and tested it on a conference-room scan. At this point, this route is a dead end.
The underlying cause is how the images were shot. A scattering of frames captured while walking is too sparse for feature matching to succeed. PortalCam is designed to collect 3DGS data continuously while walking, which is fundamentally at odds with the shooting style photogrammetry assumes: staying at one point and capturing with a lot of overlap between frames. On top of that, the conference room we tested had a lot of blank walls, meaning few distinguishable feature points to begin with. The fisheye-to-perspective conversion itself worked without issue — the bottleneck is entirely on the reconstruction side.
07 Where this is useful, and a summary
To sum up this article: PortalCam's raw data (.xbin) is an XBAG-format H.264 video, and passing it through extract_images_h264.exe with --prj_version 1 and --device_type 4 extracts 4K source images — that's the whole path. That said, only 2 of the 4 lenses can be output, and photogrammetry reconstruction from the extracted images alone hasn't panned out so far.
The most practical use we've found is as AI reference material. The extracted sequential frames are real photographic capture of the actual site, which makes them a strong reference for correcting background artifacts with Nano Banana Pro or Gemini, and a strong location reference for video-generation AI. For a fuller walkthrough of that AI production workflow, see How to generate an "aerial cut" from 3DGS.
If you have questions about handling raw data or 3DGS production, feel free to reach out.
Questions about PortalCam raw data or custom scans
If your project needs adjustments at the raw-data level — outputting source images for AI reference, or designing a scan around a specific site's shooting conditions — feel free to get in touch.
Contact us →